Showing posts with label project. Show all posts

Monday, June 17, 2013

DIY: Pillow Covers {Guest Post!}

This is my very first guest post!! My good friend Catherine (yep, same name and same spelling!) made sure to document her first attempt at making pillow covers and I'm so glad she did! I want to try it now!

How to make your own pillow covers at home for cheap! 

What you'll need:


  • More than enough fabric for the size pillows you have
  • Ugly pillows that need a face lift
  • Scissors
  • Matching thread
  • Sewing machine


These perfectly sized (clean) pillows were at Goodwill for $1 each! What an awesome score!


My living room theme is animal prints and so I found this awesome animal print to use! I got 1.33 yards of each style for about 18"x18" pillows. It was more than enough but it's better to have too much than not enough! Even so, you could probably get away with 1 yard per standard sized toss pillow.


Directions:

Iron all the wrinkles out of the fabric. 


Cut the fabric down to size. It was about 20"x40". Then fold it in half. 


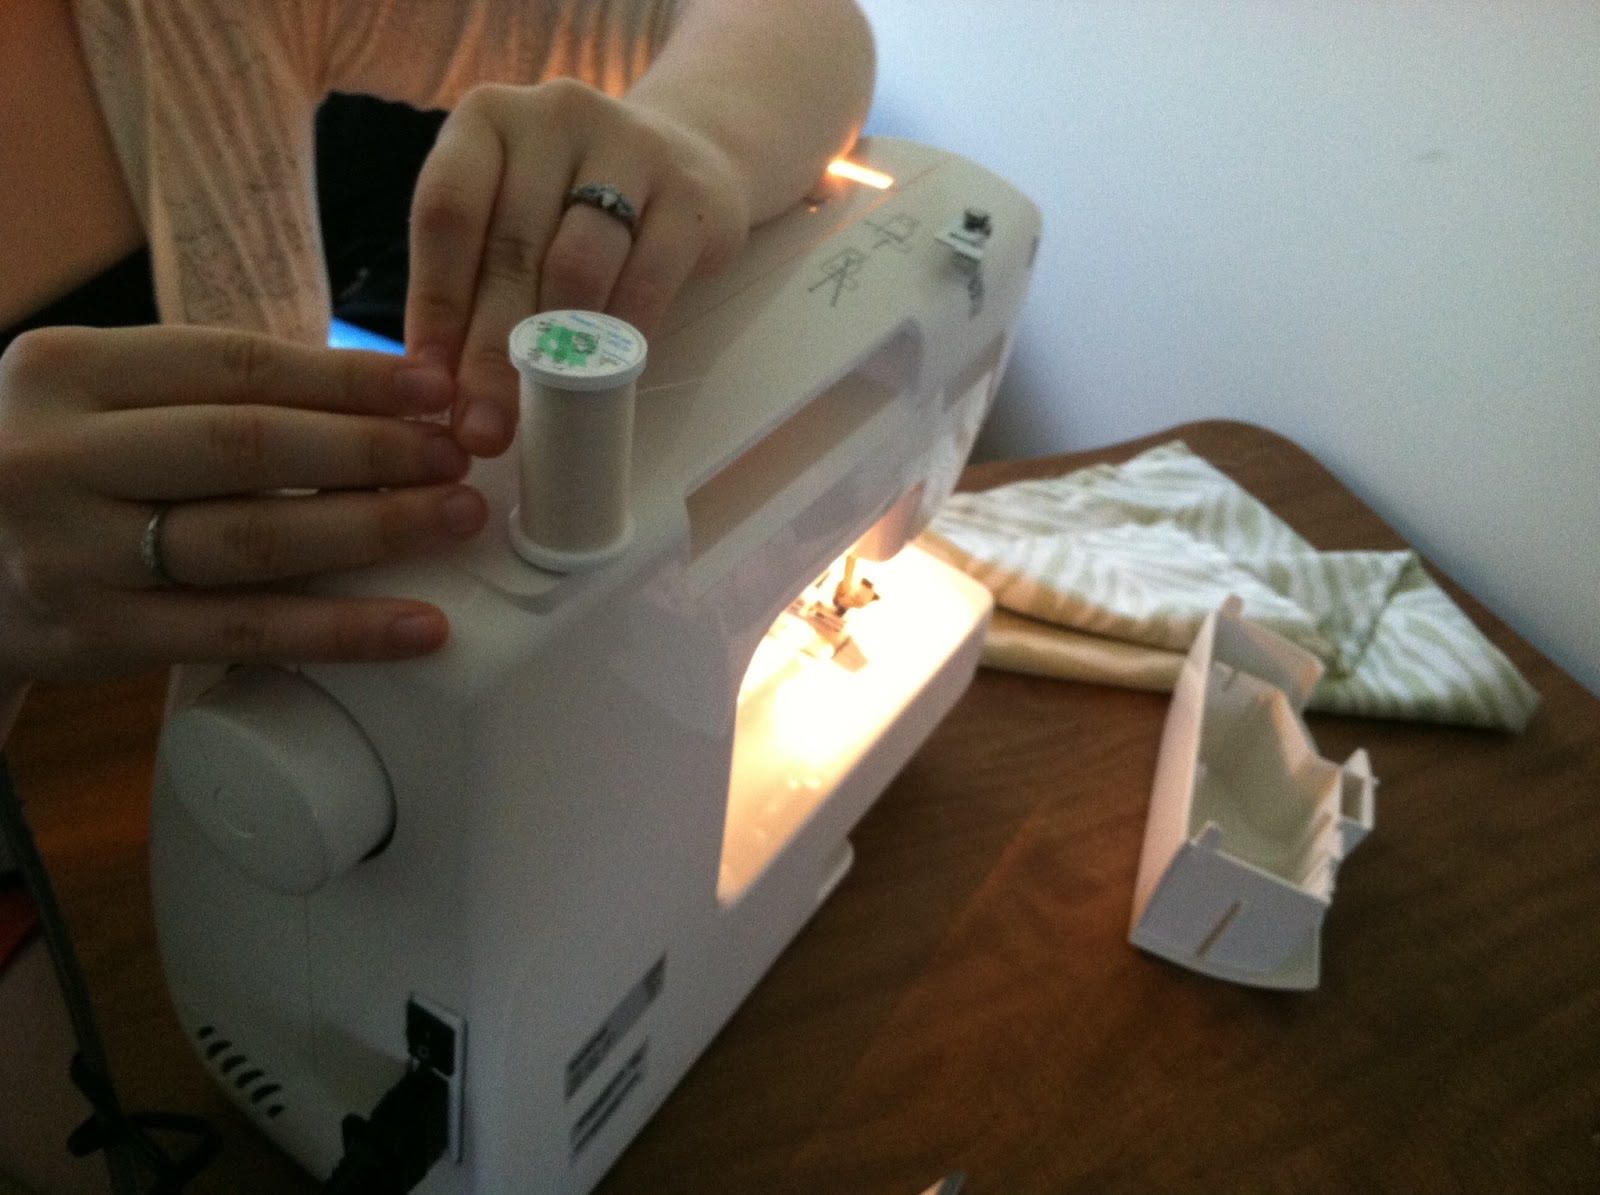
Keep the fabric inside out and sew 3 of the 4 sides with approximately 1" inseam. Leave one side open so you can easily slip the pillow inside. 

Stuff the pillow inside then hand sew the final side together. Check out this awesome tutorial to do a fancy hidden stitch. 


Now toss them on the couch, sit back, relax and enjoy! 

Don't those look so great? She did such an awesome job! Thank you, Catherine for documenting and providing my little blog with its very first guest post! We'll be looking for more fantastic projects from you soon!

Have you ever made your own pillow covers? Don't you just love that green zebra print?

Till next time,
Catherine

Thursday, March 7, 2013

DIY-Index Card Calender

If you're like me, you like to have an organized schedule and write down everything! Since middle school, my planner has been a place to write down homework, to-do's, and what happened that day. Sometimes it will be boring things like, "Stayed home and watched a movie," but other times it will be, "Went on a haunted hay ride with Billy, Sally, Suzie, and Tommy. Tommy was his usual crazy self and jumped off the wagon and ended up breaking his leg! The rest of the night was filled with a trip to the hospital and angry parents." Both of those are fictional stories, by the way. 

My point being, I like to write things down! I think it's fun to look back in time and see that "It was 85 degrees outside today in February and we had snow two days ago!" I just think that's really neat. I think I got this from my grandpa on my dad's side. He used to write little notes on the calendar or just stick them on the fridge. One of my favorite ones says, "Found mouse in dog food today" and then the date. It makes me smile to think of him writing these little notes and knowing I do it too. My dad has been doing it more over the years too. 

With this little project, I can look at multiple years at once which is really cool. I don't have to flip back and forth through different planners to find the right date. I originally found this on Pinterest of course. The original project can be found HERE but I just did my own version from the main picture. I adore these little farmer's market strawberry baskets and knew I saved them for a reason!

What you'll need:
  • Markers or pens in the colors you want
  • 366 lined index cards (Don't forget leap year!)
  • Scissors
  • Strawberry/fruit farm basket


Directions:

If your basket is a cardboard type one you're good to go. Mine was a clear plastic so I spray painted it this pretty green. 

Measure the width of the basket against an index card then cut them down to size so they fit properly. I cut maybe an inch or so off of mine. If you have a paper cutter this step will go quickly.

Now the time consuming part of the project is writing the month and day on each card. I tried to use a different color that sort of pertained to the month (red for February, yellow for April, green for December, etc.) but you can do it however you'd like. 

Stick the cards in the basket and toss a pen in the front. Now every day go write a quick line of what happened. 

I did this project late spring of 2012 so I grabbed my planner and filled in the cards from January 1st until the present day. January 1st was fun because it was the day we moved Brian (my husband) into our townhouse. 

Some days I forget and I have to fill in a week at a time and all too often there's nothing "exciting" to write. That's ok though because it will be fun to look back and see that on a specific day all we did was snuggle, watch movies and eat pizza. I've written other entries such as, "Tried Vinny's for dinner finally-really good!" or "Explored Peaks View Park" or "Started a blog!" or "About 4" of snow!" You can write whatever you want to remember about that day. I'm now into the second year with the index cards and I can hardly wait to look back at them 10 years from now! 

Do you like to write in a journal or planner as a memory keepsake? How do you record your life?

Till next time,
Catherine

Thursday, February 21, 2013

DIY: Laundry Detergent!


Back when I first got an account on Pinterest, I pinned this recipe for making homemade laundry detergent  from Being Creative to Keep My Sanity for a fraction of the price of buying it from the store every month. I made this quite a while ago and also recently made dishwasher detergent! I love this because it's cheap, easy, lasts forever, and I actually know what's in my detergent, not just random chemicals! 

Ingredients: 
  • 1 4lb 12oz box of Borax (found in the detergent isle)
  • 1 4lb box of Arm & Hammer Baking Soda (found in the baking isle)
  • 1 3lb 7oz box of Arm & Hammer Super Washing Soda (found in the detergent isle)
  • 3 bars of Octagon soap OR 2 bars of Zote soap  OR 3 bars of Fels-Naptha soap (all found in the detergent isle)
  • 3 lb container of Oxy Clean 

You'll also need:
  • A large bucket, such as a 5 gallon one
  • Large trash bag or multiple plastic grocery bags
  • Large spoon to mix with
  • Cheese grater

All you need is 1-2 Tablespoons per load! Save your Oxy Clean scoop and measure it that way, which is what I do! It doesn't sound like much but it's all you need, trust me! 


Directions: 

Grate the bar soap in your cheese grater. I used the regular size holes. Actually, I put my husband to work for this step ;-) It will dissolve in the water, so no worries! I only wash laundry in cold water and I've never had a problem with it not dissolving. 

Now dump everything into the trash bag-lined bucket and mix! I tried to pour each ingredient in layers so it was easier to mix. 

Do I pick the easy projects or what?


My absolutely adorable jar I found at a local thrift store for about $5! I had been wanting to do this project for ages but hadn't found the right jar for it yet. I was ecstatic when I did! It's a little cracked and definitely not perfect but I think it adds to the charm!  


And here it is, all done and ready to go! I had a grocery bag FULL of extra but this was all that would fit into the jar. The little fabric bits are dryer sheets I made with flax seed and dried lavender! They smell amazing and save tons of money also. Keep reading for why I decided to make my own! 


I took this screen shot while I was watching the show My Strange Addiction about a lady who ate dryer sheets. So weird! What's worse is that the chemicals in dryer sheets have been proven to cause cancer and nervous system disorders! Why on earth would I want to put that on my clothing and linens? No thanks! Did you know that many brands of dryer sheets also contain animal fat? Heads up, vegan friends! Now you understand why I either use my own or don't use any at all! 


 Here are a couple more shots of the jar I gave as part of a bridal shower gift to a sweet friend. My husband designed the label for me...what a good graphic designer husband! I had him put the ingredients on the label so if she wanted to make more she had the recipe right there!


On the other side I listed Directions to Use and then Directions to Make. At the bottom I put a little note  saying congratulations, etc. 

What a simple gift, right? I combined this with a homemade flax seed/lavender dryer sheet and a laundry basket from her registry. I think I added more laundry related items but now for the life of me I can't remember! 

I've also given several jar-fulls to my mom and my mother-in-law and guess what...I've still got tons left! I don't remember exactly when I made it but it's getting close to the year mark I think. This stuff is great! 


Helpful hints:
  • I had a hard time finding Super Washing Soda. My local Food Lion, Target and CVS didn't have it but Kroger did. 
  • My local Food Lion didn't have Fels-Naptha soap or Zote so I bought Octagon brand. They're all basically the same. Zote can be found at Home Depot.
  • The Oxy Clean is optional but definitely can't hurt, especially if you have kids or work a messy job!
  • Remember, you only need 1-2 Tablespoons per load! This stuff will last you FOREVER! 
  • The recipe makes about 2 gallons so be prepared! 


Have you ever made your own detergent? What's your favorite detergent to use?

Don't forget to go HERE and enter my very first giveaway!! It's an amazing prize!

Till next time,
Catherine

Monday, February 18, 2013

DIY: Melted Crayon Art

Happy Monday, everyone! What? You're not happy it's Monday? Well, smile anyways!

Today I thought I'd bring out a project I did BEFORE I started my blog, which is why there aren't any pictures of the DIY process in action. But I'll tell you, it's easy to do!


Supplies:
  • Crayons (whichever colors you prefer)
  • Canvas (size is up to you)
  • Hair dryer
  • Tape

Directions:

Pick out the color crayons you want in your project. I chose greens, a few yellows, and oranges. I wanted this to go in my kitchen and green/orange are my current kitchen colors.

Now line them up on the canvas in whatever pattern you'd like. I've seen all sorts of cool variations like wavey patterns, flower patterns and other neat ideas. For the first one, I decide to just go straight across the top. One good friend of mine picked colors that matched her favorite wedding photo from the Bahamas. It turned out beautifully and sits on her fireplace mantel next to the photo. Seeing hers is what made me say, "Ok, enough is enough...I'm making one of those!"

I would recommend removing the labels from the crayons before taping them down. That way they won't slip out of the wrapper right away.

Now bust out that hair dryer and get to work!

Melt the crayons until you get the look you want!


Voila! Simple, cheap, and fun art! It even matched the fruit! We've since moved the canvas over top of a little metal baker's rack and replaced it with these awesome free kitchen printables


For this one I taped off a small area so that I can put a picture in there and the melted crayons act like a frame. I think it's cool! I also cut the crayons into 1" pieces so it wouldn't overflow the canvas. I haven't picked a photo yet so it's not hung up yet but I'm getting there!

My husband made this one on his own. He just really wanted to play and melt more wax. He likes it, though so we may still hang it somewhere! 

Helpful hints: 
  • Keep the hair dryer on low heat. If it's going too fast it will knock the crayon pieces off the canvas.
  • Full size crayons produces a lot of melted wax. Remember that if you're using a smaller canvas. 
  • If you have white or light colored walls where you're going to hang the canvas, you may want to cover the back where the crayon ran the wrong way so it doesn't "draw" on your wall. 
  • Lay down newspaper or something so you don't get melted wax everywhere!
  • Prop the canvas at an angle so the wax melts and drips nicely but the crayons don't slip and fall down the canvas, messing up your design. 
  • Take your time! It's not a race. 
  • Point your hair dryer down at the crayons. That way you don't blow them off to the sides and the crayons melt and drip downwards nicely. Unless you want a different effect then go for it! 

Have you made melted crayon art before? What sort of pattern did you use? Send me a photo of how it turned out, whether it's good, bad or ugly! I'd love to see your versions!

Till next time,
Catherine