Showing posts with label diy. Show all posts

Monday, July 1, 2013

Spontaneous Weekend Visits

Can you believe it's July 1st? How in the world did June slip by so fast? 

That's ok...bring on the fall weather!!

This past weekend my mother-in-law and brother-in-law decided to come down for a spontaneous trip! We love having friends and family visit so we were super excited that they decided to come over!

(via)

When we got official word they were on their way and after a trip to the grocery store, my husband and I went into a cleaning frenzy. He helped, though, really. Now I don't see this as a fault and I know my in-laws and friends won't think less of me if the house isn't spotless (who has time to keep a house 'spotless'?), but when people come over, it is a perfect excuse to clean the house in record time! Works like a charm. I'm a pretty organized and clean person, but the house always looks great seconds before guests arrive! 

They arrived late Friday evening and so we mostly talked and played games. I had to work Saturday morning so everyone else stayed up and hung out when I went to bed early like the old lady I am. Saturday afternoon we all went down to the Farmer's Market to sample and buy local, delicious goodies. We bought eggs and potatoes for a super late breakfast and even bought the most delicious goat cheese from Spring Mill Farm. Sun dried tomato goat cheese is my guilty pleasure...it is to die for!


After the Market and a delicious homemade breakfast (at 2pm?!) we relaxed for a bit but then decided we should go out and enjoy the day. The hot, hot day. We drove down to Peaks View Park and walked the trails and got some sun. It was really nice, but quite hot. We were ready for some AC after a few miles!


Even Kito got to come along! He had a blast!

Don't tell but we even stopped by DQ on the way back for smore's blizzards! 


Sunday we made poppyseed chicken (delicious...recipe post in the works!) and butter! Yes, we made our own butter! It's incredibly easy but I won't give it all away now. I'll try and have that in a post for you all this week! 

All in all in was a wonderful weekend. Can't wait to have them out again!

And to top it off, now that it's July...it's officially my birthday month! This is the first birthday in about 5 years now that the camp we always work isn't happening during my birthday! Not that we don't love working camp, but I'm so excited to actually get to celebrate my birthday this year! It's also my "quarter of a century" birthday as my husband likes to remind me, so we're thinking an awesome celebration is in order! I can hardly wait!

How was your weekend? Do anything fun or productive? What are some awesome birthday ideas? I'm up for cliche� or unique ideas! 

Till next time,
Catherine

Friday, June 21, 2013

DIY: Skin-Safe Homemade Deodorant {Guest Post}

Look at me on a roll with guest posting lately! Ok, this is only the second one so maybe "on a roll" isn't the best choice of words. Either way, I'm excited to have my good blog buddy Rachael from The Aliso Kitchen guest posting for me! I'm over at her blog today writing about My Biggest Real Food Challenge for her series on the topic. So after you read this post, be sure to visit The Aliso Kitchen for all kinds of awesome recipes, natural alternatives for health and beauty, and real, honest blogging and life and living better. 

Skin-Safe Homemade Deodorant Recipe

Hello! This is my first post for Happily Ever Crafter, but it�s right at home with some of Catherine�s other posts. I�m Rachael, the blogger behind The Aliso Kitchen, and Catherine and I met on Facebook. We have similar interests regarding homemade beauty products, healthy recipes, and gardening. Today, we�re swapping blogs! For me, she wrote a great post on heranti-green thumb, which is her biggest real food challenge.

Today, I�m sharing my kind of messy, but pretty awesome homemade deodorant recipe. Why? Because I love your pits.


Conventional deodorants are scary things. They�re full of all kinds of nasty ingredients, and I�m still not sold about rubbing aluminum anything under my arms. These are special things there, like lymph nodes! I have a pretty high breast cancer risk in my family, and I just can�t wrap my head about placing potentially toxic and carcinogenic substances (like parabens and preservatives) near such sensitive areas. Or anywhere, really.

But when you head to your natural market, you see that many natural deodorants for sale there have different, but similarly weird and unnecessary chemicals. Plus, their prices are way too high.
Instead of wasting my time and money, I decided to whip up my very own deodorant based on recipes 
I�ve seen around the blogosphere.

The cornerstone of my recipe is baking soda as it helps eliminate odors and keeps you fresh!

The ingredients:


-    Coconut oil
-        Arrowroot powder
-        Baking soda
-       Essential oils (I used basil and sweet orange)
     You�ll also need one empty deodorant stick. You can purchase them in bulk on eBay or Amazon, or simply clean out an old tube you have! I used an old Dove stick with an ounce measurement so I could travel through airport security with this stuff.

Did I measure?
�No. Really, I was set to measure! Then, I shook out too much arrowroot powder and realized it didn�t matter. Start off small. Add 1 tbs of baking soda, a couple of drops of a skin-safe essential oil you like (many use tea tree, but it is too harsh for me), and then start mixing in your arrowroot powder and coconut oil. You�ll want a thick paste, so you�ll probably end up using about � a cup of arrowroot powder and maybe � - 1/3 c of coconut oil. Maybe less, maybe more! �


Once you good, thick paste, carefully spoon it into your deodorant stick.


When done, set it in the fridge for a few minutes so it firms up. That�s it!


The only thing I don�t love about this recipe is that it�s a little messy. If you live in a hot environment, the coconut oil will melt. You can remedy this by keeping your deodorant in the refrigerator (weird) or by melting in some beeswax. Since I don�t mind a little mess and do not have any beeswax on hand, I went without. Just a thought!

Why not cornstarch?
Arrowroot powder and cornstarch are two totally different ingredients that feel and do pretty much the same thing. But, arrowroot powder is not a genetically modified food, and is almost a perfect replacement for cornstarch. You can use it to roll out my yogurt dough cracker recipe, to thicken sauces and puddings, as a base for your homemade foundation, or as a skin-sensitive binder in your deodorant.
You could always opt to use just coconut oil and baking soda, but baking soda can be a little rough on the skin in large quantities. Arrowroot powder is the perfect filler: it�s safe for your skin, adds the necessary bulk, and is a healthy ingredient to have around.

Don�t have a stick to use? 
Make a dry deodorant by combining a few tablespoons of arrowroot powder and 1 tablespoon of baking soda in a reusable container. Then, use a makeup puff or cotton balls to dab under your arms when needed.

A note on stink:Some people take time to adjust from conventional deodorants to homemade ones. I was surprised how sweaty and funky I smelled while processing out the traditional, chemically laden stuff. It took about a month for that phase to pass, and now this deodorant is strong enough to get me through long days at the cheese shop. Plus, I have no white build-up or residue on my shirts after. That might vary with people, but it�s a cheap, easy, and safe alternative for me!

Again, thank you, Catherine, for giving me the opportunity to share this with your readers! I�m excited to meet you all, and look forward to next time!


Do you use deodorant? Do you make your own or buy from the store? Have you ever made your own health or beauty products? Tell us below!


Thanks again, Rachael for your great post! I'm planning to try this as soon as I pick up some arrowroot powder! 

Till next time,
Catherine

Monday, June 17, 2013

DIY: Pillow Covers {Guest Post!}

This is my very first guest post!! My good friend Catherine (yep, same name and same spelling!) made sure to document her first attempt at making pillow covers and I'm so glad she did! I want to try it now!

How to make your own pillow covers at home for cheap! 

What you'll need:


  • More than enough fabric for the size pillows you have
  • Ugly pillows that need a face lift
  • Scissors
  • Matching thread
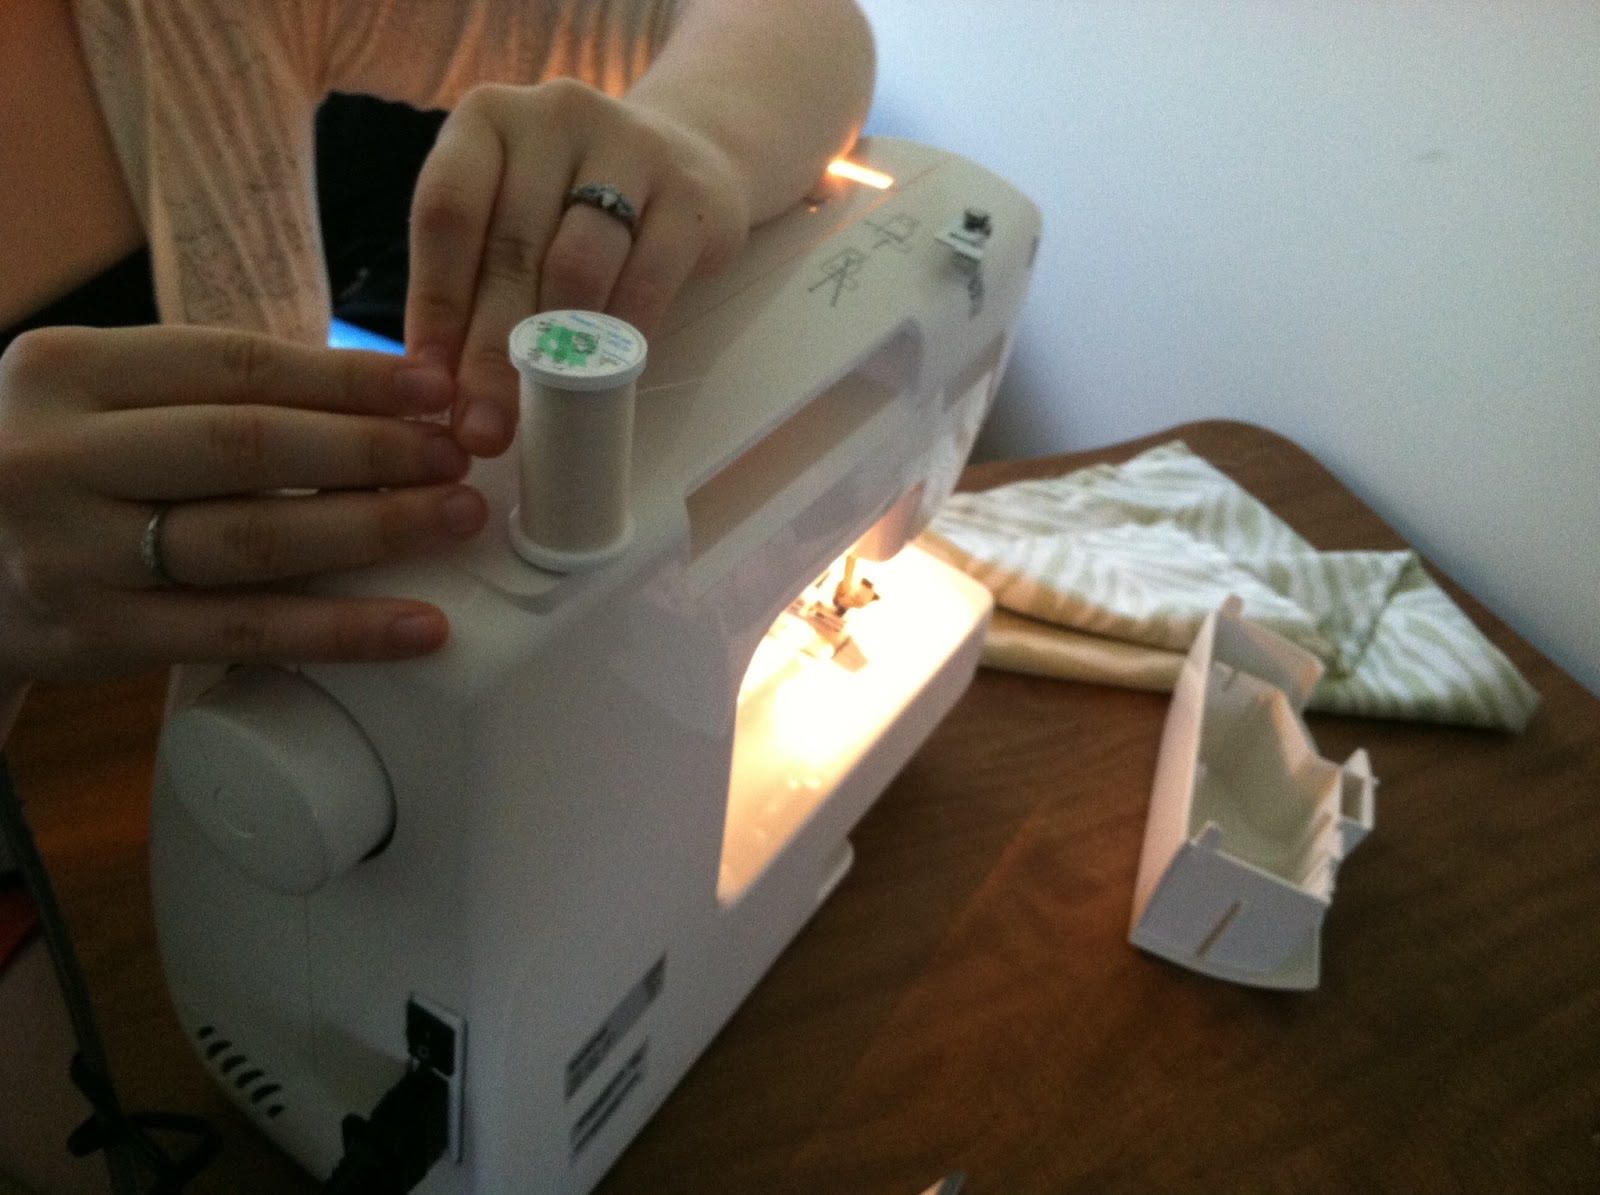
  • Sewing machine


These perfectly sized (clean) pillows were at Goodwill for $1 each! What an awesome score!


My living room theme is animal prints and so I found this awesome animal print to use! I got 1.33 yards of each style for about 18"x18" pillows. It was more than enough but it's better to have too much than not enough! Even so, you could probably get away with 1 yard per standard sized toss pillow.


Directions:

Iron all the wrinkles out of the fabric. 


Cut the fabric down to size. It was about 20"x40". Then fold it in half. 


Keep the fabric inside out and sew 3 of the 4 sides with approximately 1" inseam. Leave one side open so you can easily slip the pillow inside. 

Stuff the pillow inside then hand sew the final side together. Check out this awesome tutorial to do a fancy hidden stitch. 


Now toss them on the couch, sit back, relax and enjoy! 

Don't those look so great? She did such an awesome job! Thank you, Catherine for documenting and providing my little blog with its very first guest post! We'll be looking for more fantastic projects from you soon!

Have you ever made your own pillow covers? Don't you just love that green zebra print?

Till next time,
Catherine

Thursday, May 30, 2013

DIY-How to Shorten Window Blinds

How to Shorten Window Blinds 

or

How to Make It Look Like Your Potential Adopted Dog Didn't Destroy the Bottom of Your Blinds

Uhm...yea, about that. 

Long story short, we did a "home trial" with a dog we wanted to adopt. It didn't work out but it's in the best interest of us and more importantly, the dog. Maybe I'll write about him tomorrow. Anyone want a super sweet dog? 


I knew it was possible to shorten blinds but I didn't know how or how extremely easy it is! Here's a step by step tutorial which applies to just about all horizontal blinds. 


Assess the damage. Err...I mean...drop the blinds to their full length to see how much it needs to be shortened. 


My wonderful husband (and his long arms) took care of trading the blinds. Fortunately, the blinds downstairs in the living room (that got ripped) are the same length and width as the guest bedroom. The living room windows are also much longer than the guest bedroom window so it worked out so perfectly.


Here are the broken blinds on the shorter window. The bottom in tact rung is just above the windowsill...perfect!


Remove the plugs from the bottom bar of the blinds. With nicer blinds it's easier to remove it but we had to use pliers. There will be one on each side. 


Pull the knot out from inside the bar and untie it for each one. 


Then pull that vertical thicker string (from both sides) out of the rungs you'll be removing, then pull them out to the desired length. Or in my case, till all the broken rungs are removed. 


Simply slide the bottom bar back through the "rope ladder."


Slip the thicker string through the holes. 


Tie a new knot. We did slip knots just to make it easier if it ever needs to be done again.


Stuff the knot into the hole.


Push the plug back in. 


Cut the excess strings. You can either tie the "rope ladder" rungs underneath the bottom bar or just leave one "rope ladder" rung in tact. It's not noticeable either way. 


Now stand back and enjoy a set of blinds that fit your window perfectly! 

How easy was that?

Way easier than I expected, that's for sure. 

Now I just need to get some stinkin' curtains up!! 

Do you have blinds that need to be cut to size? Any suggestions for DIY curtains or cheap (but thick) curtains? 

Till next time,
Catherine

Tuesday, April 23, 2013

DIY: Worm Farm


In addition to my lovely pallet garden that we made last week, we also made a worm composting farm to partner up with our mini garden! This is something I've been wanting to try for a while now but I didn't want to start it until the temperature would be staying above freezing. 

Growing up out in the country, we always recycled everything and we always composted food scraps. Tossing food into the trash can was a huge no-no. Since being married it kills me to throw food in the trash can...it just seems so wrong. Now that we have hungry little composters, no more food will be wasted! Well, except dairy and meat of course. That stuff is no good for worms. 

I think I originally saw this idea on Pinterest but I can't remember for sure. I have an entire list of references at the bottom of the post so you can see all the awesome bloggers/vloggers who helped me figure this project out. 

All you need is:
  • 3 large plastic bins (anywhere from 10 gallon to 18 gallon)
  • A drill and drill bits
  • Newspaper (no shiny stuff)
  • Cardboard/old egg cartons
  • Coconut coir or peat moss
  • 500-1000 Red Wriggler Worms


Directions:


Gather your bins. I found two 10 gallon totes and one 14 gallon tote that fit together perfectly. 


This is how they'll fit together when I'm done. The top layer will house the worms and the scraps. The middle layer is for extra bedding but also for swapping when the top layer is full. The bottom layer is for the "worm tea" which is the liquid that drains from the compost. It's extremely beneficial for plants so don't toss it out!

The reason I bought two smaller bins and one larger bins is so that the bins with the compost in them will be elevated from the liquid in the bottom. You can get three bins of the same size but you will need to add a couple bricks or large rocks to elevate the top bins. Make sense?


I  had a couple of cardboard egg cartons so I ripped them into small pieces for more bedding for the wormies.


Brand new drill bit set and a drill that my aunt and uncle bought for us as a wedding gift! The drill set was only $14 on sale at Lowe's


One of the tutorials I watched highly recommended using coconut coir as bedding because it is pH balanced. Home Depot and Lowe's had them but I would have had to buy large bricks of it and I knew I wouldn't need that much. I found this planter liner at a local nursery for only $3. I'm sure you can find them in most nurseries and greenhouses. 


Newspaper too! These guys need a good foundation. 


Don't forget to paint a colorful sign on the side and be sure to paint it like a 7 year old would. Wait, I think that's just me. 


Get your drill bits out. We used a 1/8" bit for the sides and 1/4" for the bottoms. 


Start by drilling holes all around the top sides of the bins. There's no formula here. Just drill a ton of holes for ventilation! The size of the holes also isn't precise. I used a smaller bit for the sides to hopefully avoid any flying bugs invading the bin.


Drill these side holes in both of the top bins. Do not drill any holes in the bottom bin! 


 Now drill holes in the bottoms of the bins. Be sure to drill holes in the depressions where liquid is more likely to collect. 


Now lay a piece of newspaper in the bottom of the middle bin. This is just extra caution because I was worried the worms might fall into the bottom bin. They shouldn't do that though. 


I put some soil on top of it so that if they make it down to the middle bin they have something to live in and won't dry out before making their way back to the top. 


In the top bin, where the worms will go, I shredded some coconut coir fiber and added just regular potting soil. 


Then I added the torn cardboard. 


And shredded newspaper. 


Then I wet it all down. You want your bedding to stay moist but not soaked. The worms will try to escape if there is too much moisture. 


Now it's time to add your worms! I bought mine from Uncle Jim's Worm Farm. I received mine in about 3 days. They ship worms out on Mondays and it usually takes about 2-3 days so plan accordingly. You want your worm bin ready when they arrive. 


There they are! Wait...where are there?


I see a few of them. 


There they are! They were all clumped together after their long journey. They are shipped in dry peat moss so gently pour about 1/2-1 cup of water over them so they can return to normal. One resource I read said that you should give them 48 hours to settle in before feeding them. I gave them more than a day. I think they should have at least 24 hours to rest and get used to their new surroundings before bombarding them with work.


Their first meal consisted of coffee grounds and a banana peel! That's all I had at the time but they've gotten more goodies since. 

Side note: Starbucks gives away used coffee grounds for FREE so stop by and ask for some for your worm bin or compost pile! Waste not!


There you have it...an easy and cheap worm composting bin for your home! I'll write another post soon about the care and upkeep of your worm farm!


References: 


Does your family compost? Wouldn't it be nice to toss scraps to the worms instead of letting them stink up the trash can?

Till next time,
Catherine