Showing posts with label cook. Show all posts

Tuesday, April 16, 2013

Cook: Seasoned and Roasted Chickpeas


If you're searching for a healthy snack, look no further! 

Simply roasting chickpeas (garbanzo beans) with some olive oil and seasoning salt makes such a delicious snack! I had heard of this before but honestly was a little skeptical. But now, I wish I had made these ages ago!

For my book club meeting last weekend I wanted to make a little snack that everyone could enjoy. One lady is vegan, another eats gluten-free and everyone is pretty health conscious. I found the original recipe from Oh She Glows, a wonderful vegan lifestyle blog.  I took the basic concept but used different seasoning, while still keeping it basic. 

Overall this recipe is delicious and easy to make, but, it does take time. It's totally worth it, though.

Ingredients:
  • 2 cans of garbanzo beans/chickpeas
  • Seasoning salt
  • Olive oil

Directions:


Preheat your oven to 425. Boil the chickpeas for a few minutes then remove from the heat and let cool for about 30 minutes or until you can safely handle them.


Strain the chickpeas. You can run cool water over them if you're short on time. 


Get your seasonings out! You could do anything with this recipe! I using Seasoning Salt and olive oil but you could do just salt and pepper, Italian spices, cinnamon sugar...whatever your belly desires!


Lay some aluminum foil or parchment paper on your baking sheet and drizzle olive oil and sprinkle your seasonings. 


 Pour the chickpeas on top.


Then sprinkle and drizzle some more! Roll them around with your hands to make sure they get evenly coated with olive oil and your seasonings. 


Bake in the oven for about 45 minutes, rolling them halfway through to ensure even baking.


Let cool and enjoy!


So delicious! 

If you've never had chickpeas, this is a great way to try them. I like them cold on my salad but this is the first time having them hot and it was so good! They were a hit at my book club meeting! I thought they would be a little messy because of the olive oil but they're not at all so it's no biggie to eat them by hand like popcorn! 

You can bet I'll be making more of them soon!

What seasoning(s) would you use? Do you prefer to call them chickpeas or garbanzo beans? I've always wondered, are they peas or beans? 

Till next time,
Catherine

Friday, April 12, 2013

Cook: Tomato and Basil Soup


In honor of National Grilled Cheese Sandwich Day today I knew I had to make grilled cheese. Ok, well I cheat, I make "toasted cheese." Doesn't sound as good but it's definitely healthier! No frying in butter! Tastes just as good to me and less mess to clean up!

I searched Pinterest and found two recipes I liked and adapted my version from them. One was from Your Homebased Mom and the other from Food Doodles.

It looks like a lot, but I promise it's easy and you probably have most of the ingredients on hand already!


Ingredients:

  • 2 14.5oz cans of tomatoes, crushed or petit diced (I used a quart Mason jar of home-grown and home-canned tomatoes from my parents!)
  • 1/4 cup of butter or oil (I used coconut oil)
  • 1 cup of chicken broth (I used 1 chicken bouillon cube)
  • 1 can of tomato paste
  • 1/4 teaspoon of thyme
  • 1/4 teaspoon of basil
  • 1/4 teaspoon of baking soda
  • 1-2 cups of water
  • 1 cup milk (2%, whole, half & half, whatever you prefer! I used 2%)
  • Salt (to taste)
  • Pepper (to taste)


Directions:


Add all your ingredients together and mix thoroughly into a medium saucepan. The white blob is just coconut oil, don't freak out! 


Bring to a boil and then simmer for about 10-15 minutes. 


Let it sit until it's cool enough to put into your blender. You can also use a food processor or an immersion blender.


Pour it into your blender, carefully!


Blend until smooth! Anyone know why it turns orange?


This is when I added the tomato paste because I didn't think it was thick enough and the flavor wasn't where I wanted it, but obviously it's better to add it all from the beginning! 


Return to the saucepan or serve this way. At this point I added milk and water until I got the consistency that I wanted. 


Get your grilled (er, toasted) cheese going! 


Mmm look at that melty cheese! 


Once it's the way you want it, serve it and enjoy! 


Garnish with a little fresh or dried basil for that perfect finishing touch! 


And don't forget to cut the grilled cheese at an angle like mom used to do ;) 


Or cut it into tiny bit-size pieces like me. 

Hope you go for this before buying Campbell's again! I promise, this is way better, and healthier!!

Do you prefer to make your own tomato soup or go for the can? What's your favorite way to make a grilled cheese? How did you celebrate National Grilled Cheese Sandwich Day?

Till next time,
Catherine


Monday, April 8, 2013

Coconut Oil Giveaway-Winner Update!

You may remember my insane excitement regarding my very first giveaway last month, well my lovely winner, Rachel D., sent me a couple pictures of how she's using her prize! If you don't remember, the prize was an entire quart of Tropical Traditions Gold Label Virgin Coconut Oil! That stuff is the bomb! I add it to so much of my cooking and even feed it to my dogs to maintain their health!

Rachel made this yummy popcorn with her coconut oil!


Mmm!


I want to dig in too! It looks so delicious! The recipe is quick and easy...I'll post it tomorrow!

Rachel works with doTERRA essential oils company so be sure to check out her website! I have personally only bought and used Young Living essential oils but I have been wanting to experience other companies as well. Hint hint! Keep your ears...er...eyes...open for another potential review and giveaway in the near future!!!

What would you have made if you won? If you use essential oils, what's your favorite brand and why? What oil would you love to win?

Till next time,
Catherine

Friday, March 8, 2013

Cook-Strawberry Yogurt Pops

I just KNEW I had to have this popsicle tray for a reason! Not to mention World Market had it on sale! It was only a few bucks and I just couldn't resist. Luckily Pinterest inspired me early on last summer to make my own version of THIS

My version was a bit simpler but just as tasty! 

Ingredients:
  • Strawberries (blueberries, blackberries, raspberries...whatever you prefer!)
  • Vanilla yogurt
  • I'd also recommend a sweetener like honey or agave, to taste


Directions:

Puree your fruit in a blender (after washing it, of course). 

Alternately spoon yogurt and the fruit puree into the popsicle mold. You can also swirl it around with a spoon if you want it more mixed. 

Freeze.

Enjoy!

Keep this in mind for the summer months when it's hot! It's going to be quite a lovely weekend and upcoming week with highs in the upper 50s and low 60s! Enjoy your weekend everyone! :)

Got any fun plans this weekend while the weather is nice? 

Till next time,
Catheirne


Tuesday, February 5, 2013

Cook: Make Your Own Cream of "Something" Soup!

I don't know about you guys, but I feel like I never have cream of chicken soup when I need it. Or cream of whatever else I might be wanting to use. When I saw this post from Pinterest, I knew it was something I wanted to try. Even if it didn't work, it was worth a try to save money and grocery store trips! 

Oh and did I mention it's way healthier? I love making alternatives to store bought items because I actually know what's in the food I'm eating and feeding to my husband. Store bought cream of "something" soups are always high in sodium and full of other junk we don't need. 

Ingredients:
  • 1 cup non-fat dried milk 
  • 3/4 cup cornstarch
  • 1/4 cup bouillon (beef, veggie, chicken, whichever you prefer. I used chicken)
  • 4 Tablespoons freeze dried minced onions
  • 1 teaspoon basil
  • 1 teaspoon thyme
  • 1 teaspoon pepper
  • 1 teaspoon parsley
  • 1 teaspoon chives
When you're ready to use it, mix 1/3 cup of your dry mix with 1 1/4 cup of water. This is the equivalent of one can of condensed soup. Cook it until it thickens up. 

Directions:


If you have cubed bouillon you'll need to crush it. I love using my mortar and pestle! It's so fun. I used a total of 10 cubes and that was about 1/4 cup.


Crush it well.


Pour all your ingredients into a medium bowl. 


Stir it all up till everything is well mixed. 


Now fill up a jar and you're good to go! I'm going to make a label for it with the recipe for making the actual soup as well as the ingredients for one batch so I always have it handy. As you can see, one batch made over half of a mason jar full. I haven't cooked with it yet but as soon as I do I'll give you an update on how it was! 

Also, I added the parsley and chives just because but they weren't included in the original recipe. 

Can't wait to try it out! Too bad this post just gave me a mini To-Do list! 

1. Make a label for the jar
2. Actually try out the mix

I'll get right on it...

Have you ever made your own version of a cream of "something" soup? Do you prefer to stick with the cans at the store instead?

Till next time,
Catherine


Monday, January 21, 2013

Cook: Maple Mustard Chicken


Ok, I know that's not the most appetizing title but trust me when I say this stuff was good! The original recipe can be found here

Ingredients: 
  • 4-6 boneless, skinless chicken breasts or strips
  • 1/4-1/2 cup sweet and spicy mustard
  • 1/4-1/2 cup maple syrup
  • Salt and pepper
  • Olive oil
  • Parsley and/or chives for garnish

Directions:


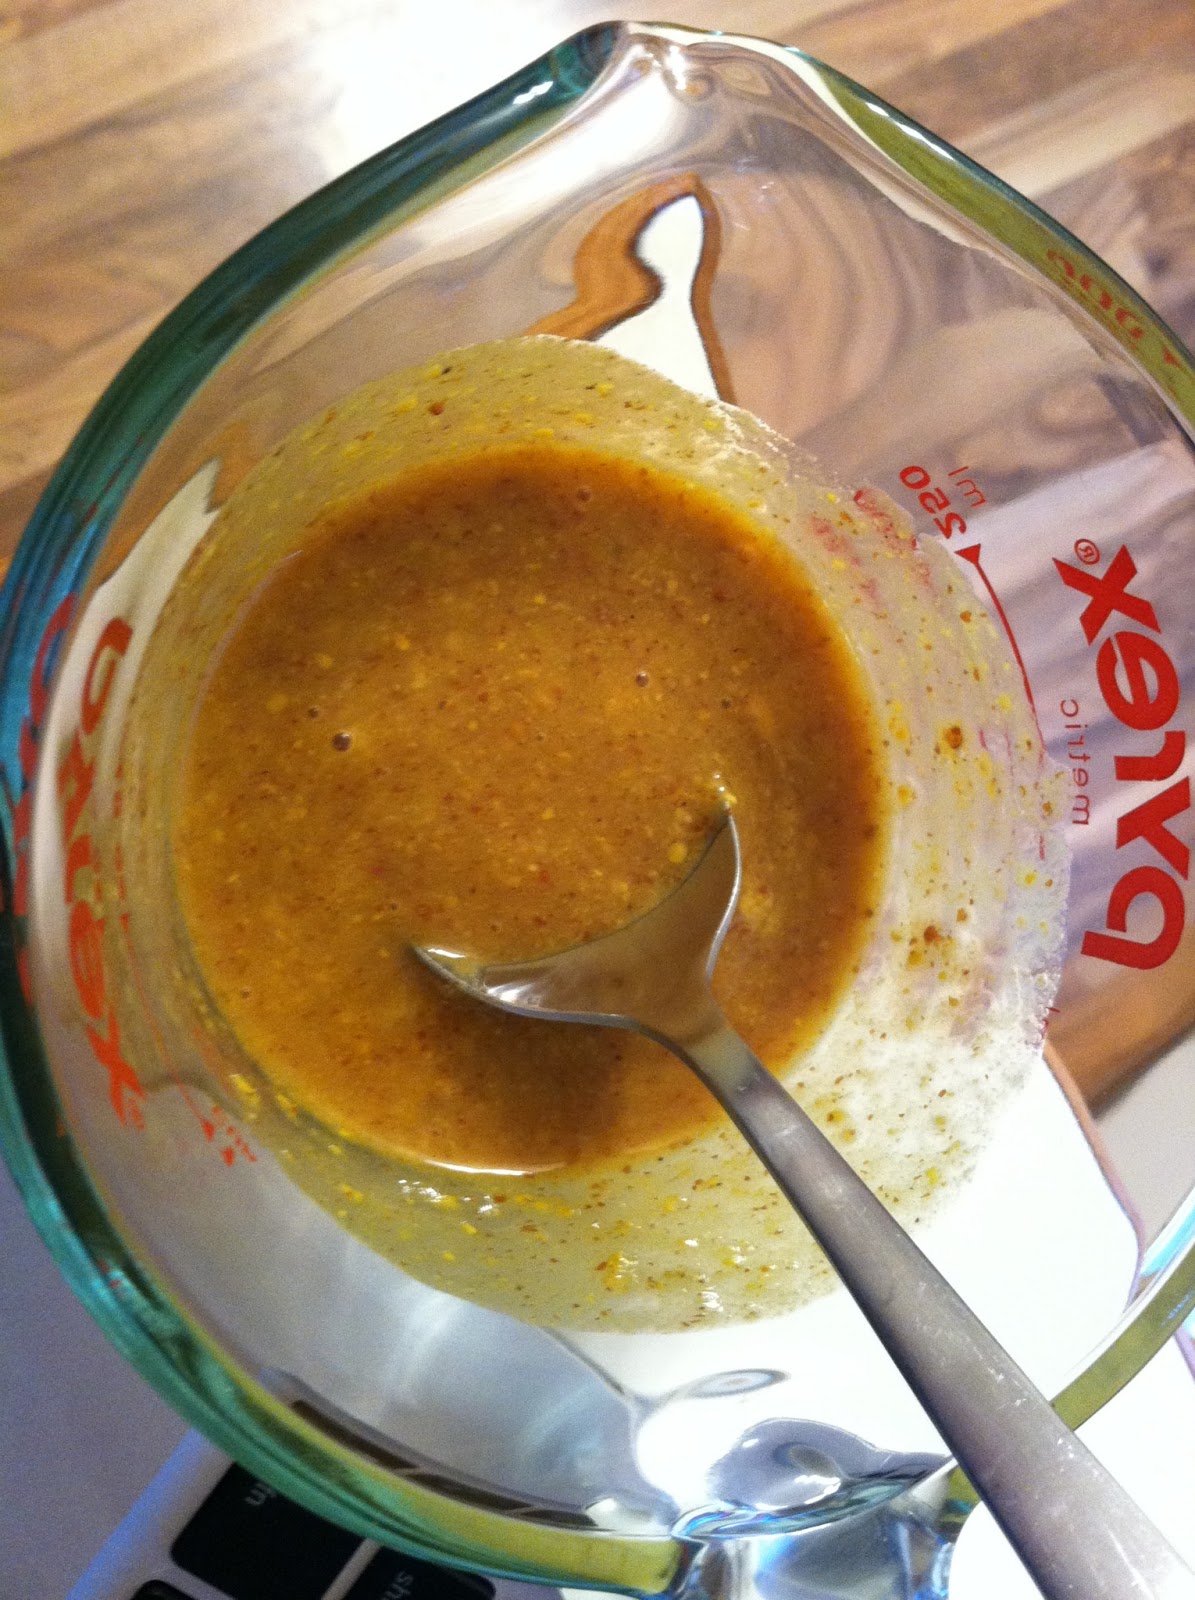
Preheat your oven to 400 degrees. Mix together the mustard and maple syrup. Don't skimp and use crappy syrup. Get REAL maple syrup...you know...the kind from a tree! Mrs. Butterworth and Aunt Jemima aren't cuttin' it anymore. Not in this household anyways! I used 1/4 cup of each but I think next time I'll do 1/2 cup of each so there's more sauce. Just do it however you think it'll taste best! If you like mustard, add more mustard!

This is how I made the recipe, but I think it would be even better if the chicken was marinated overnight in this sauce. That's how I plan to make it next time. 


Lay your chicken out in an oven safe dish.


Drizzle your EVOO on top.


Salt and pepper those bad boys!


Pour on the maple mustard dressing. 


Sprinkle some parsley and/or chives (I did both because I already had them mixed) for some pretty garnish. Just do it, it's not like they taste bad! Or like anything for that matter.


Bake for about 30 minutes. The downside to this is that the sugars in the maple syrup burn and make a horrible black crust on the dish. Another note for next time, either use a disposable baking pan or line your dish with aluminum foil! It's nothing a good soak in the sink won't cure, but still, if you're like me, you hate dishes and especially ones that require more work!


Add a little salad on the side and some fresh pineapple and there you have it! My husband LOVES pineapple so I bought one at the store the other day and knew he'd love to see it cut up and ready to eat.


A very delicious dish that will be sure to please your family! My husband couldn't get enough of it! 

Are you a fan of mustard? What kind do you like to stick with? This recipe would be great with just about any type of mustard! 

Till next time,
Catherine