Showing posts with label simple. Show all posts

Monday, June 17, 2013

DIY: Pillow Covers {Guest Post!}

This is my very first guest post!! My good friend Catherine (yep, same name and same spelling!) made sure to document her first attempt at making pillow covers and I'm so glad she did! I want to try it now!

How to make your own pillow covers at home for cheap! 

What you'll need:


  • More than enough fabric for the size pillows you have
  • Ugly pillows that need a face lift
  • Scissors
  • Matching thread
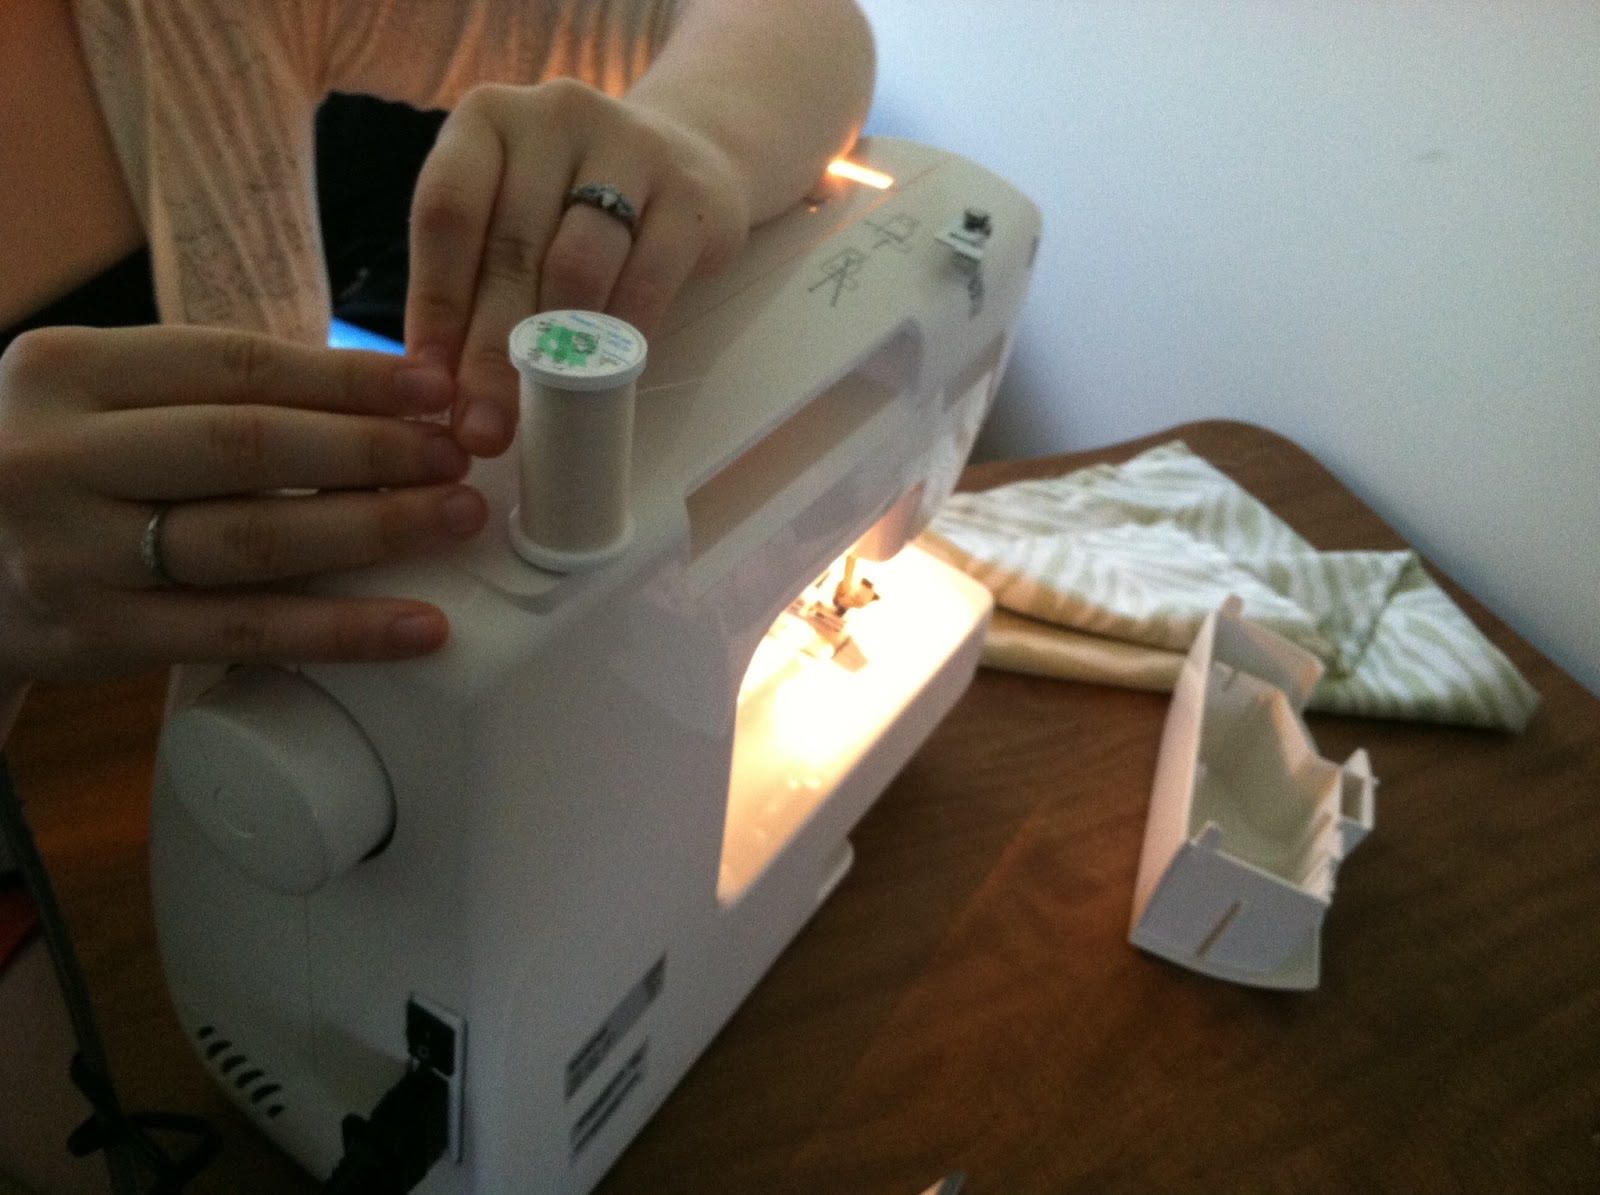
  • Sewing machine


These perfectly sized (clean) pillows were at Goodwill for $1 each! What an awesome score!


My living room theme is animal prints and so I found this awesome animal print to use! I got 1.33 yards of each style for about 18"x18" pillows. It was more than enough but it's better to have too much than not enough! Even so, you could probably get away with 1 yard per standard sized toss pillow.


Directions:

Iron all the wrinkles out of the fabric. 


Cut the fabric down to size. It was about 20"x40". Then fold it in half. 


Keep the fabric inside out and sew 3 of the 4 sides with approximately 1" inseam. Leave one side open so you can easily slip the pillow inside. 

Stuff the pillow inside then hand sew the final side together. Check out this awesome tutorial to do a fancy hidden stitch. 


Now toss them on the couch, sit back, relax and enjoy! 

Don't those look so great? She did such an awesome job! Thank you, Catherine for documenting and providing my little blog with its very first guest post! We'll be looking for more fantastic projects from you soon!

Have you ever made your own pillow covers? Don't you just love that green zebra print?

Till next time,
Catherine

Thursday, May 30, 2013

DIY-How to Shorten Window Blinds

How to Shorten Window Blinds 

or

How to Make It Look Like Your Potential Adopted Dog Didn't Destroy the Bottom of Your Blinds

Uhm...yea, about that. 

Long story short, we did a "home trial" with a dog we wanted to adopt. It didn't work out but it's in the best interest of us and more importantly, the dog. Maybe I'll write about him tomorrow. Anyone want a super sweet dog? 


I knew it was possible to shorten blinds but I didn't know how or how extremely easy it is! Here's a step by step tutorial which applies to just about all horizontal blinds. 


Assess the damage. Err...I mean...drop the blinds to their full length to see how much it needs to be shortened. 


My wonderful husband (and his long arms) took care of trading the blinds. Fortunately, the blinds downstairs in the living room (that got ripped) are the same length and width as the guest bedroom. The living room windows are also much longer than the guest bedroom window so it worked out so perfectly.


Here are the broken blinds on the shorter window. The bottom in tact rung is just above the windowsill...perfect!


Remove the plugs from the bottom bar of the blinds. With nicer blinds it's easier to remove it but we had to use pliers. There will be one on each side. 


Pull the knot out from inside the bar and untie it for each one. 


Then pull that vertical thicker string (from both sides) out of the rungs you'll be removing, then pull them out to the desired length. Or in my case, till all the broken rungs are removed. 


Simply slide the bottom bar back through the "rope ladder."


Slip the thicker string through the holes. 


Tie a new knot. We did slip knots just to make it easier if it ever needs to be done again.


Stuff the knot into the hole.


Push the plug back in. 


Cut the excess strings. You can either tie the "rope ladder" rungs underneath the bottom bar or just leave one "rope ladder" rung in tact. It's not noticeable either way. 


Now stand back and enjoy a set of blinds that fit your window perfectly! 

How easy was that?

Way easier than I expected, that's for sure. 

Now I just need to get some stinkin' curtains up!! 

Do you have blinds that need to be cut to size? Any suggestions for DIY curtains or cheap (but thick) curtains? 

Till next time,
Catherine

Friday, May 24, 2013

Cook-Strawberry Freezer Jam

I've been learning lately that there are many things in our daily lives that we use or consume that we don't realize how simple it is to make it ourselves!


One of these things is strawberry jam (or any jam, really). Yes, jam! It only requires 3 ingredients and takes maybe 15 minutes to make a 6-8 cup batch that will last you months!

Why haven't I been doing this for years?!

Oh and for anyone wondering, jam is made with the FRUIT, jelly is made with the JUICE! I learned that maybe a year ago and it blew my mind. It's the little things, right?

Moving on.

Brian and I went strawberry picking this past weekend and had over 10 quarts (about 15lbs) of strawberries to eat and use!

We've been eating strawberries since we headed home from the strawberry farm! We also prepared and froze a gallon and a half of them, made smoothies and now, freezer jam!

I always thought if you made things like jam you had to can them but that's not true! This recipe is so simple and easy and after the jam sets, you can pop it into the freezer until you need it!

Ingredients:

  • Pectin (I used Sure-Jell but there are other brands that are good)
  • 4 cups of sugar (raw, unbleached, organic is best!)
  • 2 cups of mashed strawberries (over 4 cups whole)
  • 1/4 cup of water

Directions:


Gather and prepare your ingredients. Sure-Jell has a great insert in the box with directions for many kinds of jams and jellies. Sure-Jell has one packet in the box and you use the entire thing. 


Wash your strawberries. 


Hull them. 


Mash them! The fun part! I used my potato masher but I'm sure something like an immersion blender would work as well. Mash them but don't puree them because jam is best with chunks of fruit!


Mine measured at a little over 2 cups. 


 Pour your sugar into another bowl. I know, 4 cups of sugar is A LOT of sugar. I read from many sources that you can't use any more or less because the pectin won't set correctly. Sure-Jell also makes a low-sugar/no-sugar pectin as well which I plan to try soon!


Pour the strawberries into the sugar and mix well.


Mix the water and pectin together in a small saucepan. Bring to a boil for about a minute, stirring constantly. Don't let it get away from you!


When it's done boiling, pour the pectin/water mixture into the strawberry/sugar mixture and stir constantly until the sugar is well dissolved.


Now pour it into cups, bowls, jars, Pyrex or whatever you want to store it in. Be sure they have been washed thoroughly to keep any bacteria out. This is especially crucial if you are canning this recipe. Leave about an inch or more of space between the jam and the top of the jars to allow for expansion. 


I used two 2-cup size plastic containers (Ziploc brand?) and two small jars that previously had jam in them. I estimate they hold about a cup each.


Be sure to leave the lids off or just resting on top for 24 hours to let the jam set properly. 


If you're putting them in the freezer right away, leave the lids off until they're fully frozen, ESPECIALLY if you're using glass! 


Once it's fully set, spread on some toast, have a PB&J or just eat it by the spoonful! This stuff is awesome! 


Best PB&J on the block! On homemade bread, of course! 

Have you ever made your own homemade jam or jelly? What's your favorite combo of fruit? I want to try triple berry!

Till next time,
Catherine


Thursday, March 21, 2013

DIY-Make Up Brush Holder

This project is as simple as it gets. It's one of those things you see all over Pinterest and think "Oh, that's so cute! I should do that to de-clutter my make up bag!" but you never get around to it. 


Buy a vase or jar...fill it with rocks, pebbles, coffee beans, sea shells, etc. 


Now stick your make up brushes, paint brushes, pencils, pens, scissors, art supplies, etc in it! 

The possibilities are endless with it too. You can use any kind of jar or vase that works with what you're putting in it and then use any kind of filler you want. Heck, you could get a large vase, fill it with dried pinto beans and stick your kitchen utensils in it! How cute would that be? Or maybe even colorful dried heirloom corn?

How about filling it with beads and sticking craft scissors in it! Or even for a child's play room, fill it with marbles and stick their markers in it! So many choices!

What combo would you do? What area of your house would it help to organize?

P.S. I may not get around to posting anything tomorrow as my husband and I will be celebrating our 1 year anniversary on a weekend trip!! So excited!!

Till next time,
Catherine

Friday, February 22, 2013

DIY: Greeting Card Binder

OK are you prepared for this?

Gather your sweet and lovely cards from your wedding, your baby shower, past birthdays, whatever you want.

Dust off your hole puncher.

Buy binder clips from Target (about $3 for an assorted pack of 8) in the office supply section.

Now get to work. 


I don't really need to give a tutorial for this do I? 

What a "Duh!" moment on how easy this is and what a great solution for all those cards you can't toss! I did this with all the cards from my bridal shower and wedding. I also cut cardboard to fit in the front and back as covers but haven't gotten around to doing anything cute with them. Maybe I'll glue some cute scrapbooking paper over it or even Mod Podge some pretty fabric. 

Another cool aspect of this project is that you can always unclip the rings and add more cards as time goes on! 

What would you do to make it look cute and decorative?

Till next time,
Catherine


Monday, February 18, 2013

DIY: Melted Crayon Art

Happy Monday, everyone! What? You're not happy it's Monday? Well, smile anyways!

Today I thought I'd bring out a project I did BEFORE I started my blog, which is why there aren't any pictures of the DIY process in action. But I'll tell you, it's easy to do!


Supplies:
  • Crayons (whichever colors you prefer)
  • Canvas (size is up to you)
  • Hair dryer
  • Tape

Directions:

Pick out the color crayons you want in your project. I chose greens, a few yellows, and oranges. I wanted this to go in my kitchen and green/orange are my current kitchen colors.

Now line them up on the canvas in whatever pattern you'd like. I've seen all sorts of cool variations like wavey patterns, flower patterns and other neat ideas. For the first one, I decide to just go straight across the top. One good friend of mine picked colors that matched her favorite wedding photo from the Bahamas. It turned out beautifully and sits on her fireplace mantel next to the photo. Seeing hers is what made me say, "Ok, enough is enough...I'm making one of those!"

I would recommend removing the labels from the crayons before taping them down. That way they won't slip out of the wrapper right away.

Now bust out that hair dryer and get to work!

Melt the crayons until you get the look you want!


Voila! Simple, cheap, and fun art! It even matched the fruit! We've since moved the canvas over top of a little metal baker's rack and replaced it with these awesome free kitchen printables. 


For this one I taped off a small area so that I can put a picture in there and the melted crayons act like a frame. I think it's cool! I also cut the crayons into 1" pieces so it wouldn't overflow the canvas. I haven't picked a photo yet so it's not hung up yet but I'm getting there!

My husband made this one on his own. He just really wanted to play and melt more wax. He likes it, though so we may still hang it somewhere! 

Helpful hints: 
  • Keep the hair dryer on low heat. If it's going too fast it will knock the crayon pieces off the canvas.
  • Full size crayons produces a lot of melted wax. Remember that if you're using a smaller canvas. 
  • If you have white or light colored walls where you're going to hang the canvas, you may want to cover the back where the crayon ran the wrong way so it doesn't "draw" on your wall. 
  • Lay down newspaper or something so you don't get melted wax everywhere!
  • Prop the canvas at an angle so the wax melts and drips nicely but the crayons don't slip and fall down the canvas, messing up your design. 
  • Take your time! It's not a race. 
  • Point your hair dryer down at the crayons. That way you don't blow them off to the sides and the crayons melt and drip downwards nicely. Unless you want a different effect then go for it! 

Have you made melted crayon art before? What sort of pattern did you use? Send me a photo of how it turned out, whether it's good, bad or ugly! I'd love to see your versions!

Till next time,
Catherine

Wednesday, February 13, 2013

DIY: Memory Keepsake Shadow Box

Ready for a super easy DIY project? 

Are you sure? It's really easy.

If you're like me, you like to save little things like movie ticket stubs, exhibit passes, concert tickets, fortune cookies and other little momentos of dates and special times with your significant other or friends. I always try to keep them in the same general place, like a giant plastic bin full of other memory items. 

So, if you've got 'em, gather 'em up.

Now buy a shadow box. The size is up to you. The one I bought is maybe a 5"x7" but don't quote me on that. 

Open up the shadow box, toss in the little treasures. Close it up. 

You're done! 

If you want to get all fancy schmancy with it you can cut a slit in the top so you can just drop in new ticket stubs as you get them. 

You can also cut a cute piece of scrapbooking paper to fit and be the background.

I didn't do either of those but I'm keeping them in consideration! 


I've always liked to save little things like that but never had a way to display them. I love this because it's so simple and it's so sweet to be reminded of these fun memories.

Do you save little things like that? What do you do with yours?

Till next time,
Catherine


Monday, January 21, 2013

Cook: Maple Mustard Chicken


Ok, I know that's not the most appetizing title but trust me when I say this stuff was good! The original recipe can be found here. 

Ingredients: 
  • 4-6 boneless, skinless chicken breasts or strips
  • 1/4-1/2 cup sweet and spicy mustard
  • 1/4-1/2 cup maple syrup
  • Salt and pepper
  • Olive oil
  • Parsley and/or chives for garnish

Directions:


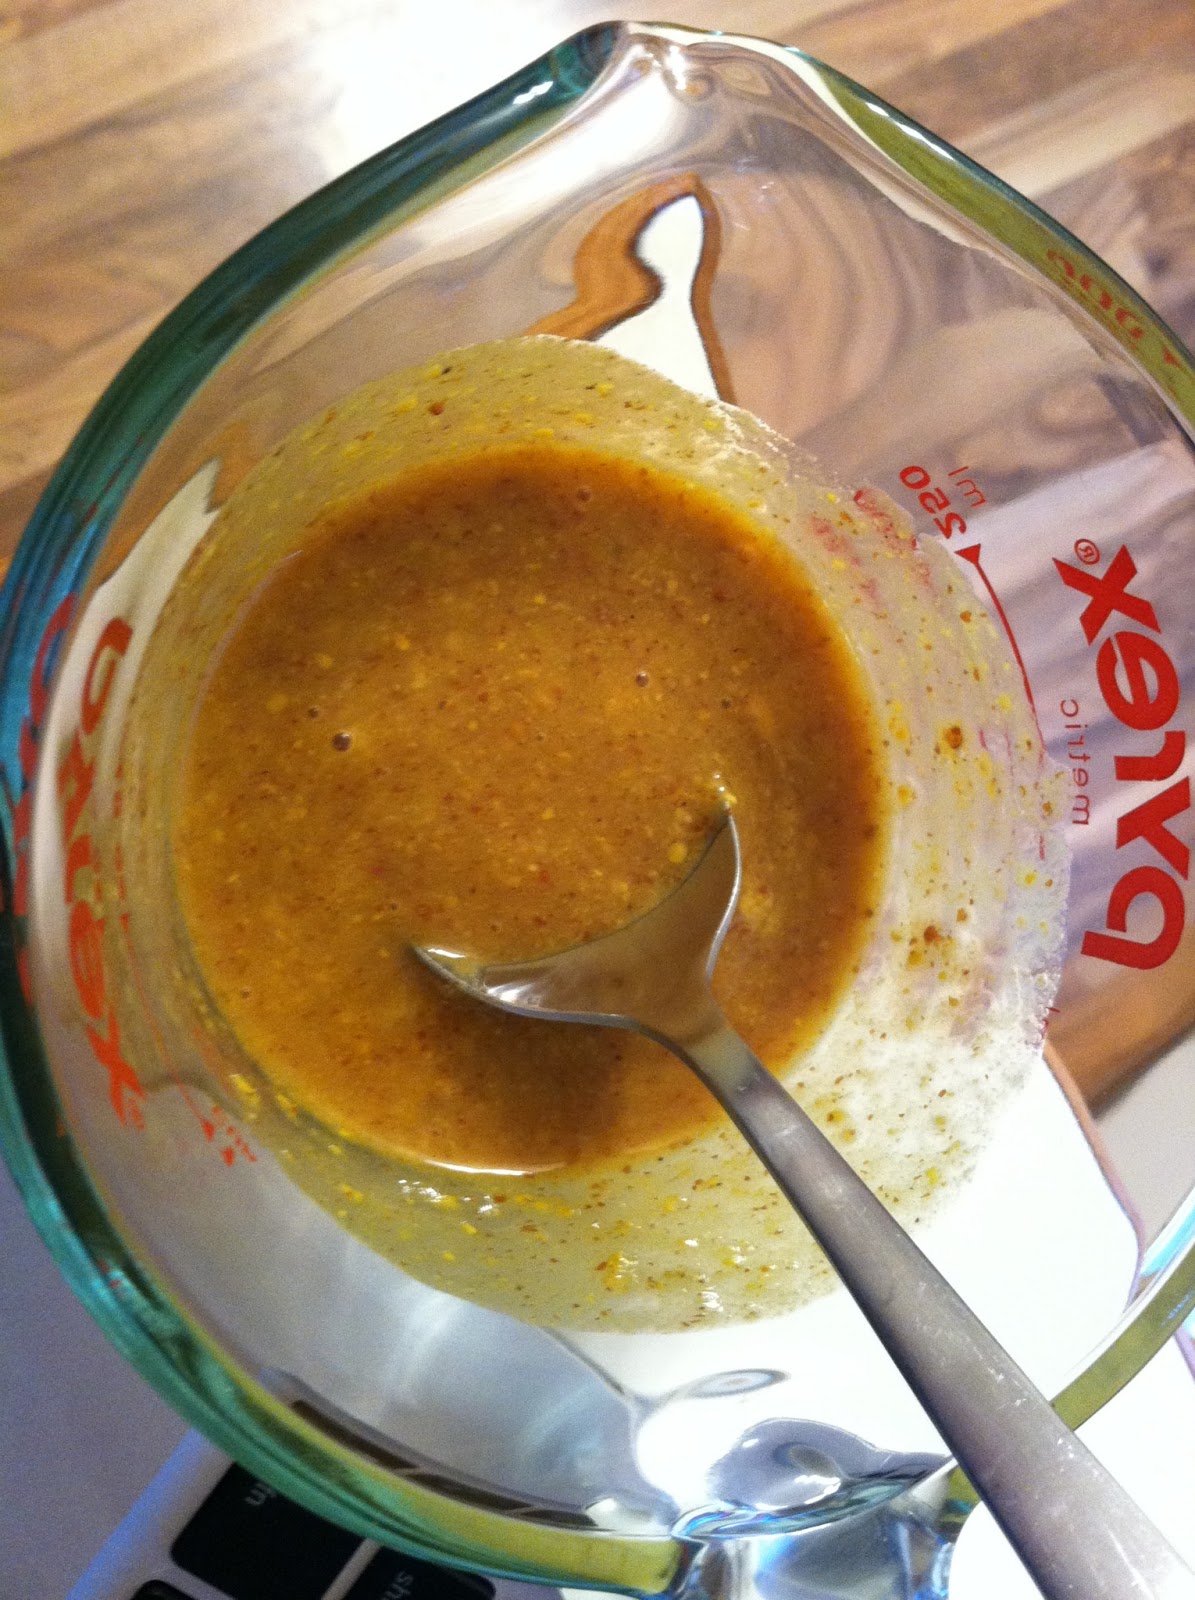
Preheat your oven to 400 degrees. Mix together the mustard and maple syrup. Don't skimp and use crappy syrup. Get REAL maple syrup...you know...the kind from a tree! Mrs. Butterworth and Aunt Jemima aren't cuttin' it anymore. Not in this household anyways! I used 1/4 cup of each but I think next time I'll do 1/2 cup of each so there's more sauce. Just do it however you think it'll taste best! If you like mustard, add more mustard!

This is how I made the recipe, but I think it would be even better if the chicken was marinated overnight in this sauce. That's how I plan to make it next time. 


Lay your chicken out in an oven safe dish.


Drizzle your EVOO on top.


Salt and pepper those bad boys!


Pour on the maple mustard dressing. 


Sprinkle some parsley and/or chives (I did both because I already had them mixed) for some pretty garnish. Just do it, it's not like they taste bad! Or like anything for that matter.


Bake for about 30 minutes. The downside to this is that the sugars in the maple syrup burn and make a horrible black crust on the dish. Another note for next time, either use a disposable baking pan or line your dish with aluminum foil! It's nothing a good soak in the sink won't cure, but still, if you're like me, you hate dishes and especially ones that require more work!


Add a little salad on the side and some fresh pineapple and there you have it! My husband LOVES pineapple so I bought one at the store the other day and knew he'd love to see it cut up and ready to eat.


A very delicious dish that will be sure to please your family! My husband couldn't get enough of it! 

Are you a fan of mustard? What kind do you like to stick with? This recipe would be great with just about any type of mustard! 

Till next time,
Catherine