Showing posts with label do it yourself. Show all posts

Monday, July 1, 2013

Spontaneous Weekend Visits

Can you believe it's July 1st? How in the world did June slip by so fast? 

That's ok...bring on the fall weather!!

This past weekend my mother-in-law and brother-in-law decided to come down for a spontaneous trip! We love having friends and family visit so we were super excited that they decided to come over!

(via)

When we got official word they were on their way and after a trip to the grocery store, my husband and I went into a cleaning frenzy. He helped, though, really. Now I don't see this as a fault and I know my in-laws and friends won't think less of me if the house isn't spotless (who has time to keep a house 'spotless'?), but when people come over, it is a perfect excuse to clean the house in record time! Works like a charm. I'm a pretty organized and clean person, but the house always looks great seconds before guests arrive! 

They arrived late Friday evening and so we mostly talked and played games. I had to work Saturday morning so everyone else stayed up and hung out when I went to bed early like the old lady I am. Saturday afternoon we all went down to the Farmer's Market to sample and buy local, delicious goodies. We bought eggs and potatoes for a super late breakfast and even bought the most delicious goat cheese from Spring Mill Farm. Sun dried tomato goat cheese is my guilty pleasure...it is to die for!


After the Market and a delicious homemade breakfast (at 2pm?!) we relaxed for a bit but then decided we should go out and enjoy the day. The hot, hot day. We drove down to Peaks View Park and walked the trails and got some sun. It was really nice, but quite hot. We were ready for some AC after a few miles!


Even Kito got to come along! He had a blast!

Don't tell but we even stopped by DQ on the way back for smore's blizzards! 


Sunday we made poppyseed chicken (delicious...recipe post in the works!) and butter! Yes, we made our own butter! It's incredibly easy but I won't give it all away now. I'll try and have that in a post for you all this week! 

All in all in was a wonderful weekend. Can't wait to have them out again!

And to top it off, now that it's July...it's officially my birthday month! This is the first birthday in about 5 years now that the camp we always work isn't happening during my birthday! Not that we don't love working camp, but I'm so excited to actually get to celebrate my birthday this year! It's also my "quarter of a century" birthday as my husband likes to remind me, so we're thinking an awesome celebration is in order! I can hardly wait!

How was your weekend? Do anything fun or productive? What are some awesome birthday ideas? I'm up for cliche� or unique ideas! 

Till next time,
Catherine

Friday, June 21, 2013

DIY: Skin-Safe Homemade Deodorant {Guest Post}

Look at me on a roll with guest posting lately! Ok, this is only the second one so maybe "on a roll" isn't the best choice of words. Either way, I'm excited to have my good blog buddy Rachael from The Aliso Kitchen guest posting for me! I'm over at her blog today writing about My Biggest Real Food Challenge for her series on the topic. So after you read this post, be sure to visit The Aliso Kitchen for all kinds of awesome recipes, natural alternatives for health and beauty, and real, honest blogging and life and living better. 

Skin-Safe Homemade Deodorant Recipe

Hello! This is my first post for Happily Ever Crafter, but it�s right at home with some of Catherine�s other posts. I�m Rachael, the blogger behind The Aliso Kitchen, and Catherine and I met on Facebook. We have similar interests regarding homemade beauty products, healthy recipes, and gardening. Today, we�re swapping blogs! For me, she wrote a great post on heranti-green thumb, which is her biggest real food challenge.

Today, I�m sharing my kind of messy, but pretty awesome homemade deodorant recipe. Why? Because I love your pits.


Conventional deodorants are scary things. They�re full of all kinds of nasty ingredients, and I�m still not sold about rubbing aluminum anything under my arms. These are special things there, like lymph nodes! I have a pretty high breast cancer risk in my family, and I just can�t wrap my head about placing potentially toxic and carcinogenic substances (like parabens and preservatives) near such sensitive areas. Or anywhere, really.

But when you head to your natural market, you see that many natural deodorants for sale there have different, but similarly weird and unnecessary chemicals. Plus, their prices are way too high.
Instead of wasting my time and money, I decided to whip up my very own deodorant based on recipes 
I�ve seen around the blogosphere.

The cornerstone of my recipe is baking soda as it helps eliminate odors and keeps you fresh!

The ingredients:


-    Coconut oil
-        Arrowroot powder
-        Baking soda
-       Essential oils (I used basil and sweet orange)
     You�ll also need one empty deodorant stick. You can purchase them in bulk on eBay or Amazon, or simply clean out an old tube you have! I used an old Dove stick with an ounce measurement so I could travel through airport security with this stuff.

Did I measure?
�No. Really, I was set to measure! Then, I shook out too much arrowroot powder and realized it didn�t matter. Start off small. Add 1 tbs of baking soda, a couple of drops of a skin-safe essential oil you like (many use tea tree, but it is too harsh for me), and then start mixing in your arrowroot powder and coconut oil. You�ll want a thick paste, so you�ll probably end up using about � a cup of arrowroot powder and maybe � - 1/3 c of coconut oil. Maybe less, maybe more! �


Once you good, thick paste, carefully spoon it into your deodorant stick.


When done, set it in the fridge for a few minutes so it firms up. That�s it!


The only thing I don�t love about this recipe is that it�s a little messy. If you live in a hot environment, the coconut oil will melt. You can remedy this by keeping your deodorant in the refrigerator (weird) or by melting in some beeswax. Since I don�t mind a little mess and do not have any beeswax on hand, I went without. Just a thought!

Why not cornstarch?
Arrowroot powder and cornstarch are two totally different ingredients that feel and do pretty much the same thing. But, arrowroot powder is not a genetically modified food, and is almost a perfect replacement for cornstarch. You can use it to roll out my yogurt dough cracker recipe, to thicken sauces and puddings, as a base for your homemade foundation, or as a skin-sensitive binder in your deodorant.
You could always opt to use just coconut oil and baking soda, but baking soda can be a little rough on the skin in large quantities. Arrowroot powder is the perfect filler: it�s safe for your skin, adds the necessary bulk, and is a healthy ingredient to have around.

Don�t have a stick to use? 
Make a dry deodorant by combining a few tablespoons of arrowroot powder and 1 tablespoon of baking soda in a reusable container. Then, use a makeup puff or cotton balls to dab under your arms when needed.

A note on stink:Some people take time to adjust from conventional deodorants to homemade ones. I was surprised how sweaty and funky I smelled while processing out the traditional, chemically laden stuff. It took about a month for that phase to pass, and now this deodorant is strong enough to get me through long days at the cheese shop. Plus, I have no white build-up or residue on my shirts after. That might vary with people, but it�s a cheap, easy, and safe alternative for me!

Again, thank you, Catherine, for giving me the opportunity to share this with your readers! I�m excited to meet you all, and look forward to next time!


Do you use deodorant? Do you make your own or buy from the store? Have you ever made your own health or beauty products? Tell us below!


Thanks again, Rachael for your great post! I'm planning to try this as soon as I pick up some arrowroot powder! 

Till next time,
Catherine

Monday, June 17, 2013

DIY: Pillow Covers {Guest Post!}

This is my very first guest post!! My good friend Catherine (yep, same name and same spelling!) made sure to document her first attempt at making pillow covers and I'm so glad she did! I want to try it now!

How to make your own pillow covers at home for cheap! 

What you'll need:


  • More than enough fabric for the size pillows you have
  • Ugly pillows that need a face lift
  • Scissors
  • Matching thread
  • Sewing machine


These perfectly sized (clean) pillows were at Goodwill for $1 each! What an awesome score!


My living room theme is animal prints and so I found this awesome animal print to use! I got 1.33 yards of each style for about 18"x18" pillows. It was more than enough but it's better to have too much than not enough! Even so, you could probably get away with 1 yard per standard sized toss pillow.


Directions:

Iron all the wrinkles out of the fabric. 


Cut the fabric down to size. It was about 20"x40". Then fold it in half. 


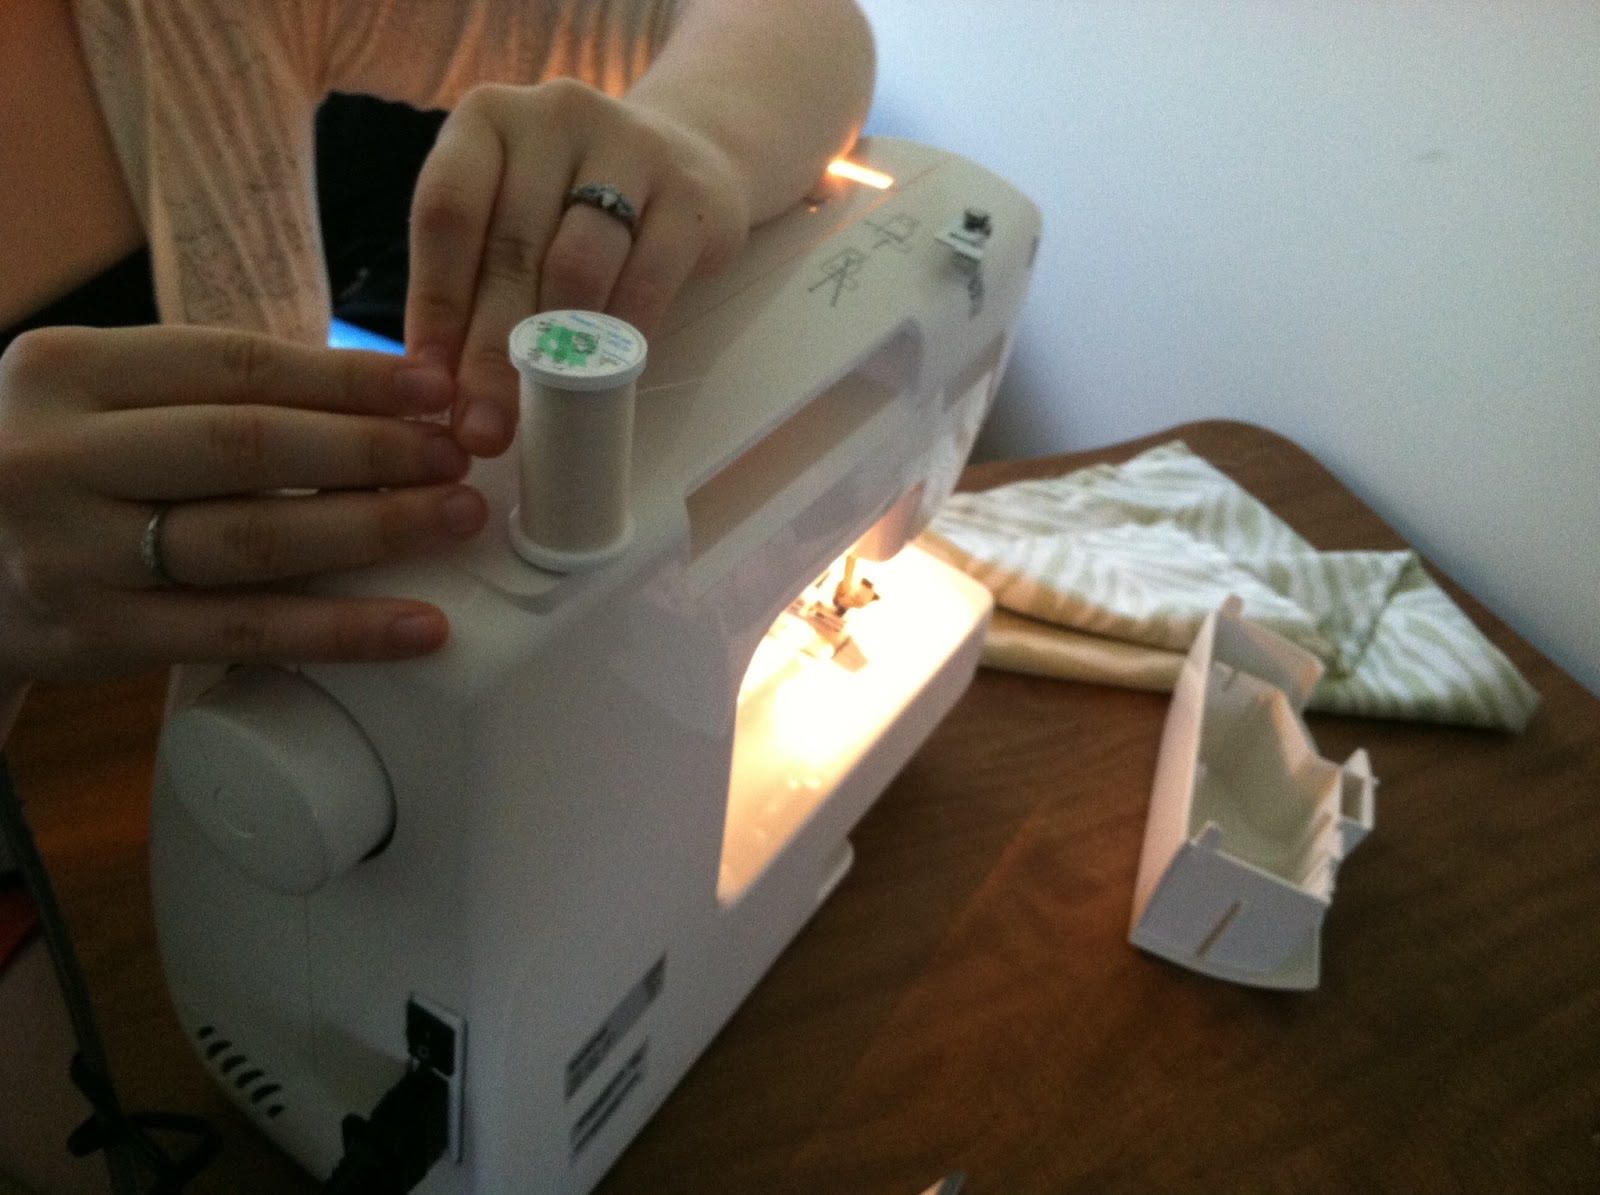
Keep the fabric inside out and sew 3 of the 4 sides with approximately 1" inseam. Leave one side open so you can easily slip the pillow inside. 

Stuff the pillow inside then hand sew the final side together. Check out this awesome tutorial to do a fancy hidden stitch. 


Now toss them on the couch, sit back, relax and enjoy! 

Don't those look so great? She did such an awesome job! Thank you, Catherine for documenting and providing my little blog with its very first guest post! We'll be looking for more fantastic projects from you soon!

Have you ever made your own pillow covers? Don't you just love that green zebra print?

Till next time,
Catherine

Thursday, May 30, 2013

DIY-How to Shorten Window Blinds

How to Shorten Window Blinds 

or

How to Make It Look Like Your Potential Adopted Dog Didn't Destroy the Bottom of Your Blinds

Uhm...yea, about that. 

Long story short, we did a "home trial" with a dog we wanted to adopt. It didn't work out but it's in the best interest of us and more importantly, the dog. Maybe I'll write about him tomorrow. Anyone want a super sweet dog? 


I knew it was possible to shorten blinds but I didn't know how or how extremely easy it is! Here's a step by step tutorial which applies to just about all horizontal blinds. 


Assess the damage. Err...I mean...drop the blinds to their full length to see how much it needs to be shortened. 


My wonderful husband (and his long arms) took care of trading the blinds. Fortunately, the blinds downstairs in the living room (that got ripped) are the same length and width as the guest bedroom. The living room windows are also much longer than the guest bedroom window so it worked out so perfectly.


Here are the broken blinds on the shorter window. The bottom in tact rung is just above the windowsill...perfect!


Remove the plugs from the bottom bar of the blinds. With nicer blinds it's easier to remove it but we had to use pliers. There will be one on each side. 


Pull the knot out from inside the bar and untie it for each one. 


Then pull that vertical thicker string (from both sides) out of the rungs you'll be removing, then pull them out to the desired length. Or in my case, till all the broken rungs are removed. 


Simply slide the bottom bar back through the "rope ladder."


Slip the thicker string through the holes. 


Tie a new knot. We did slip knots just to make it easier if it ever needs to be done again.


Stuff the knot into the hole.


Push the plug back in. 


Cut the excess strings. You can either tie the "rope ladder" rungs underneath the bottom bar or just leave one "rope ladder" rung in tact. It's not noticeable either way. 


Now stand back and enjoy a set of blinds that fit your window perfectly! 

How easy was that?

Way easier than I expected, that's for sure. 

Now I just need to get some stinkin' curtains up!! 

Do you have blinds that need to be cut to size? Any suggestions for DIY curtains or cheap (but thick) curtains? 

Till next time,
Catherine

Wednesday, April 3, 2013

DIY: Make Your Own Make-Up!

This is the post that I have been anticipating for a while. I probably over did it. My husband and I like to call it, The Chipotle Effect. Basically when you or someone else talks something up so much and then you finally see/try/taste it and you're kind of like, "Eh." while shrugging your shoulders. Or if you enjoy it, but it's not nearly as awesome as everyone has said. Well, I did that to myself I think.

But don't let that deter you right away! I'm going to do more research and see what I can add/take away to make this even better. It's too awesome to not work!

All you need is:

  • French Green Clay (I bought mine at Whole Foods)
  • Corn Starch
  • Cocoa Powder (optional for color)


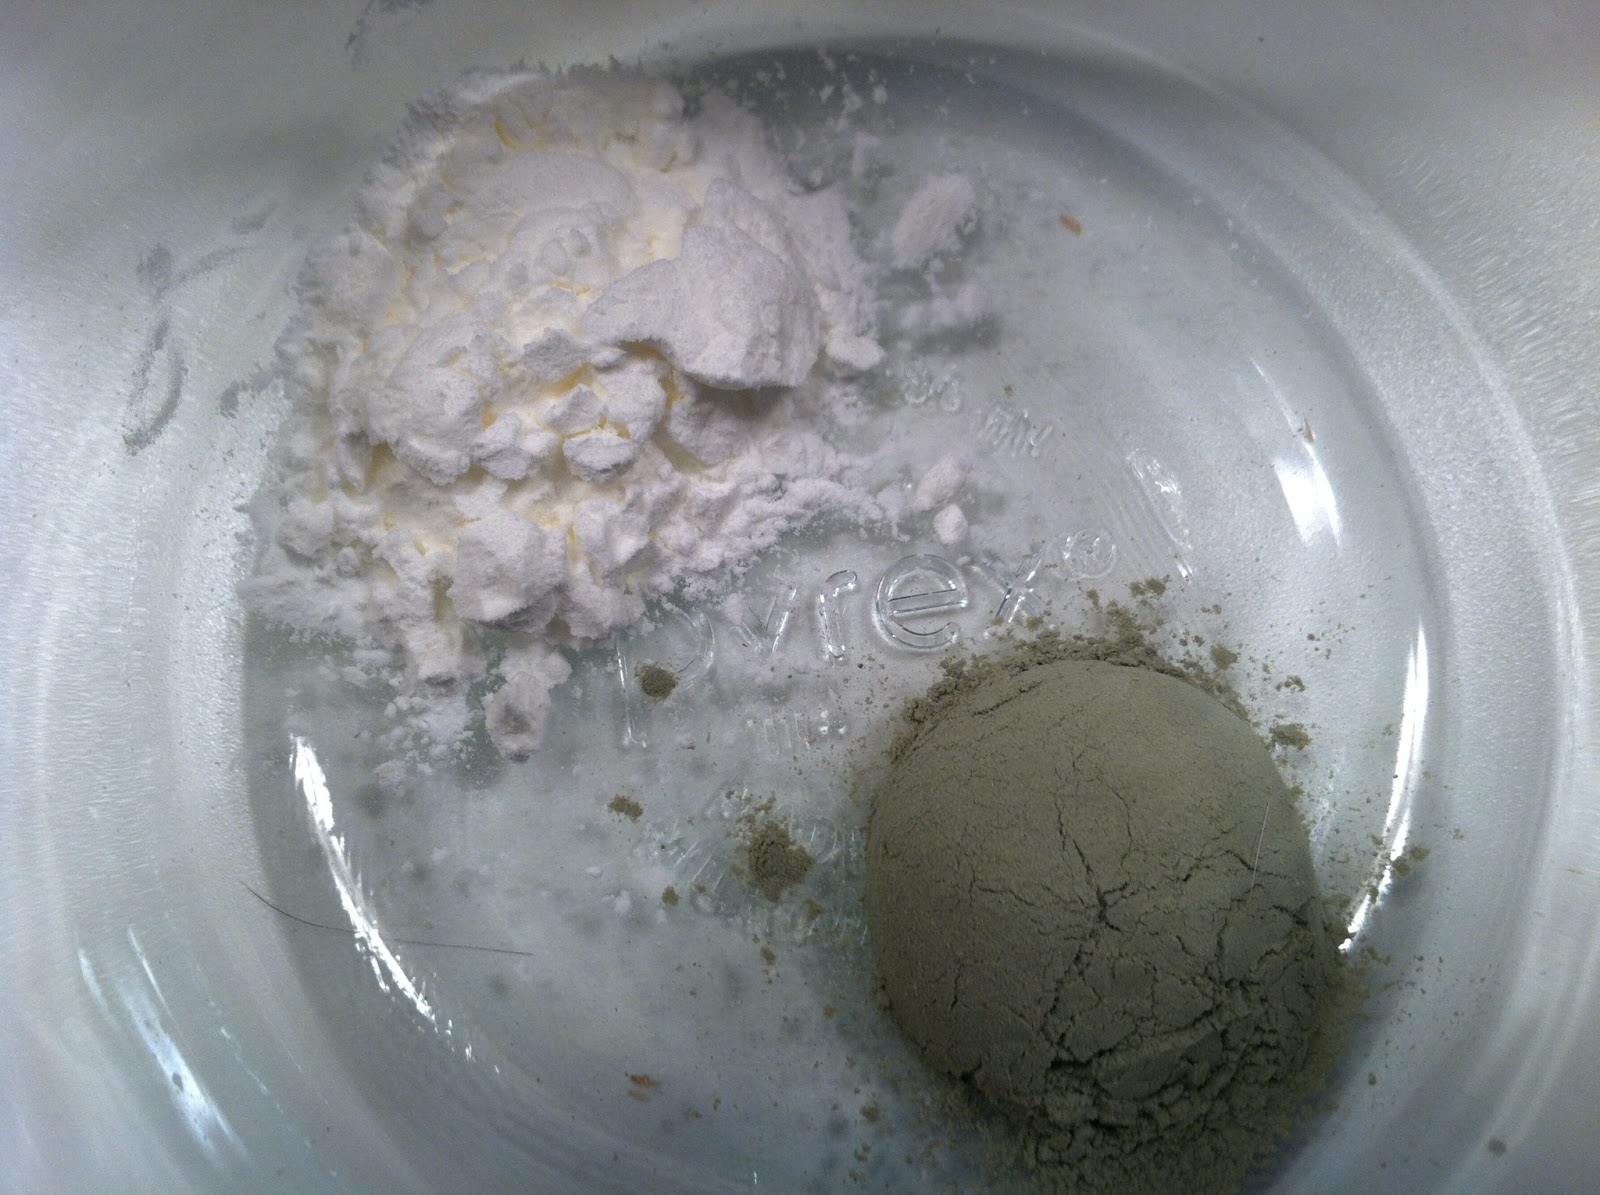
And all you do is mix the three together! The original tutorial says to do 1 part clay to 1 part corn starch. Basically, if you use 1 Tablespoon of clay, use 1 Tablespoon of corn starch as well. The cocoa powder is optional but I wouldn't recommend using an equal 1 part as well. Add it in slowly to ensure you get the color you want.

Here's how it went for me.


I started small, with a 1/2 tsp of corn starch.


Then a 1/2 tsp of French green clay.


Then about 1/16 tsp of cocoa powder. 


 And this is what it looked like. A bit too green for me.


So I added more cocoa powder. 


Better. 


And more...


Then more corn starch to lighten it. 


Even better, but not quite. 


More of each! 


This was my final color. It's not what I was expecting but it doesn't look like that color on your face. It blends into your skin very well.


As you can see, I didn't make all that much. This old spice jar works perfectly, especially if I make more! 

Tips and hints:
  • This is more of a translucent powder than a powder foundation. 
  • French green clay is used widely for facial masks and is completely natural. It's full of important minerals for our bodies and skin. 
  • Corn starch acts as an oil absorber but it won't dry out your skin.
  • Some with sensitive skin may have reactions so be cautious if you have sensitive skin. I had no issues.
  • If you want, buy all organic ingredients. I just used what I had on hand. Even all organic you can buy the ingredients for less than $10. How many make up brands are THAT cheap??
  • Because it's a powder, you'll need to apply a moisturizer first in order for the powder to stick to your skin. I recommend using Alba Organics SPF 15 Daily Moisturizer. It's light, organic and I love it! (Not paid, just love the stuff.) 
  • One awesome benefit of this is you can simply add more cocoa powder for the summer months when you're more tan then make a lighter batch for winter! So awesome! 
  • It's gluten-free!! I know this is extremely important for many people. Before this, I didn't have any clue that make up could have gluten in it!
  • Even if it doesn't turn out right, you didn't waste hardly anything but time! French green clay is great for face masks so mix your leftovers with some water for a mini spa night. Treat yo'self! 


Conclusion: 

I haven't made one yet. I really didn't see a major difference with the make up. It also seemed to wipe off way too easily. I'm not giving up yet, though because I really want this to work. How cool would it be to make all of your own make up for pennies?? I'm glad I didn't buy the 1lb jar of green clay to start with, though! I'm going to do more research and see what I can find to improve upon this. I don't want to give it up yet! 

What's your favorite kind of make up? Do you go au-natural whenever possible? What's your best make up trick? If you've used this recipe before, any tips or tricks for me? 

Till next time,
Catherine

Thursday, February 7, 2013

DIY: Dish Detergent!

Are you tired of spending way too much money on dishwasher detergent/tabs/liquid? Fortunately for me, just before I got married and my husband was living the final bachelor days in our townhouse, I found a big box of 85 dishwasher tabs for about $12. We only just now ran out so it lasted us about a year, which is great! I found this great recipe on Being Creative to Keep My Sanity on Pinterest and it was actually one of the first things I had pinned on my DIY pinboard. I wanted to wait till we ran out of our existing tabs before making more dishwasher detergent. 

Today was that day! Well, it was a few days ago but I knew it could wait. Even better, my awesome husband hand washed all the dishes that had piled up last night! Gave me some extra time which was great because I was having a hard time finding the Arm & Hammer Super Washing Soda. Note: I couldn't find it at Food Lion, CVS, or even Target but they had it at Kroger. 

All you need is: 
  • 1 box of Borax (4lb 12oz - Found in the detergent isle)
  • 1 box of Arm & Hammer Super Washing Soda (3lb 7oz - Found in the detergent isle) 
  • 0.5lb/24 Tbs citric acid (Found in the canning isle but I got mine at a local farm Auburnlea Farm)
  • 3 cups Epsom Salt (Found in the health isle near hydrogen peroxide and such)
  • LemiShine Rinse Aid or Distilled White Vinegar (Especially important if you get hard water spots)


Directions: 

Are you ready for how easy this is?


Mix everything together in a huge bowl. Or even a big bucket. My bowl was just barely big enough. 


Now pour it into your jar/container. I saved this Oxi-Clean container and the dishwasher tab container from before. Everything fit into these two containers and I counted about 16 cups of detergent. And get this...all you need is 1 Tablespoon per load!! Can you imagine how long this will last? My guess is a VERY long time. For my husband and I, we run a load of dishes at least once a week but sometimes twice so this should last us forever!

If you have a problem with hard water you'll definitely want to use the rinse aid, whether it's vinegar or LemiShine. With either one, just sprinkle a little bit in the bottom of the dishwasher before running it. Don't worry, your dishes won't smell like vinegar! 

Price breakdown:

Borax                 $4.80
Washing Soda    $3.29
Citric Acid         $2.65
Epsom Salt         $3.00 (Estimate)
Vinegar              $2.35

Total:                 $16.09

Now that comes to 256 Tablespoons in 16 cups...that's a lot of dishes!!

If you buy LemiShine instead of Vinegar, it's about $4 for a small container. Not sure how long it lasts.

Verdict: Well, not sure yet! I just made it today so I haven't had a chance to use it yet but I will update as soon as I do! I'll do one load without the vinegar as a rinse aid and one with it so I can let you all know how it does.

Oh and here's a fun story for you all. Last week I used a sample detergent that I had. I just assumed it was dishwashER liquid...until the next morning when we got up. My husband was the first one into the kitchen and he called to me to let me know our kitchen floor was FULL of suds. Uh oh. Ok so it wasn't that bad, just a quick clean up with some towels. But, moral of the story...read the label. I felt like such a dummy but it helped us start the day with a good laugh!

UPDATE: I have since washed dishes several times and have not used LemiShine or vinegar as a rinse aid and I haven't gotten any spots on my glassware. I guess we don't have hard water! Just keep in mind if you do have hard water you'll need a rinse aid. Otherwise, the dishes are coming out sparking clean! 

How much do you spend on dishwasher detergent every month? It adds up quick! Or do you wash all your dishes by hand?

Till next time,
Catherine